Crispy Chewy Chocolate Chip Cookies Recipe
Crispy and chewy chocolate chip cookies are, in my humble opinion, the pinnacle of comfort baking. There’s something universally adored about that perfect balance: the satisfying crunch of the edges giving way to a wonderfully soft, chewy center, studded with pools of melted chocolate. It’s a texture combination that speaks to nostalgia, to cozy evenings, and to the simple joy of a homemade treat. What makes these crispy and chewy chocolate chip cookies truly special isn’t just the familiar flavors, but the meticulous attention to detail that transforms ordinary ingredients into an extraordinary experience. Forget those cookies that are too flat, too cakey, or too burnt; this recipe is designed to deliver that iconic texture every single time, making your kitchen smell like pure bliss.
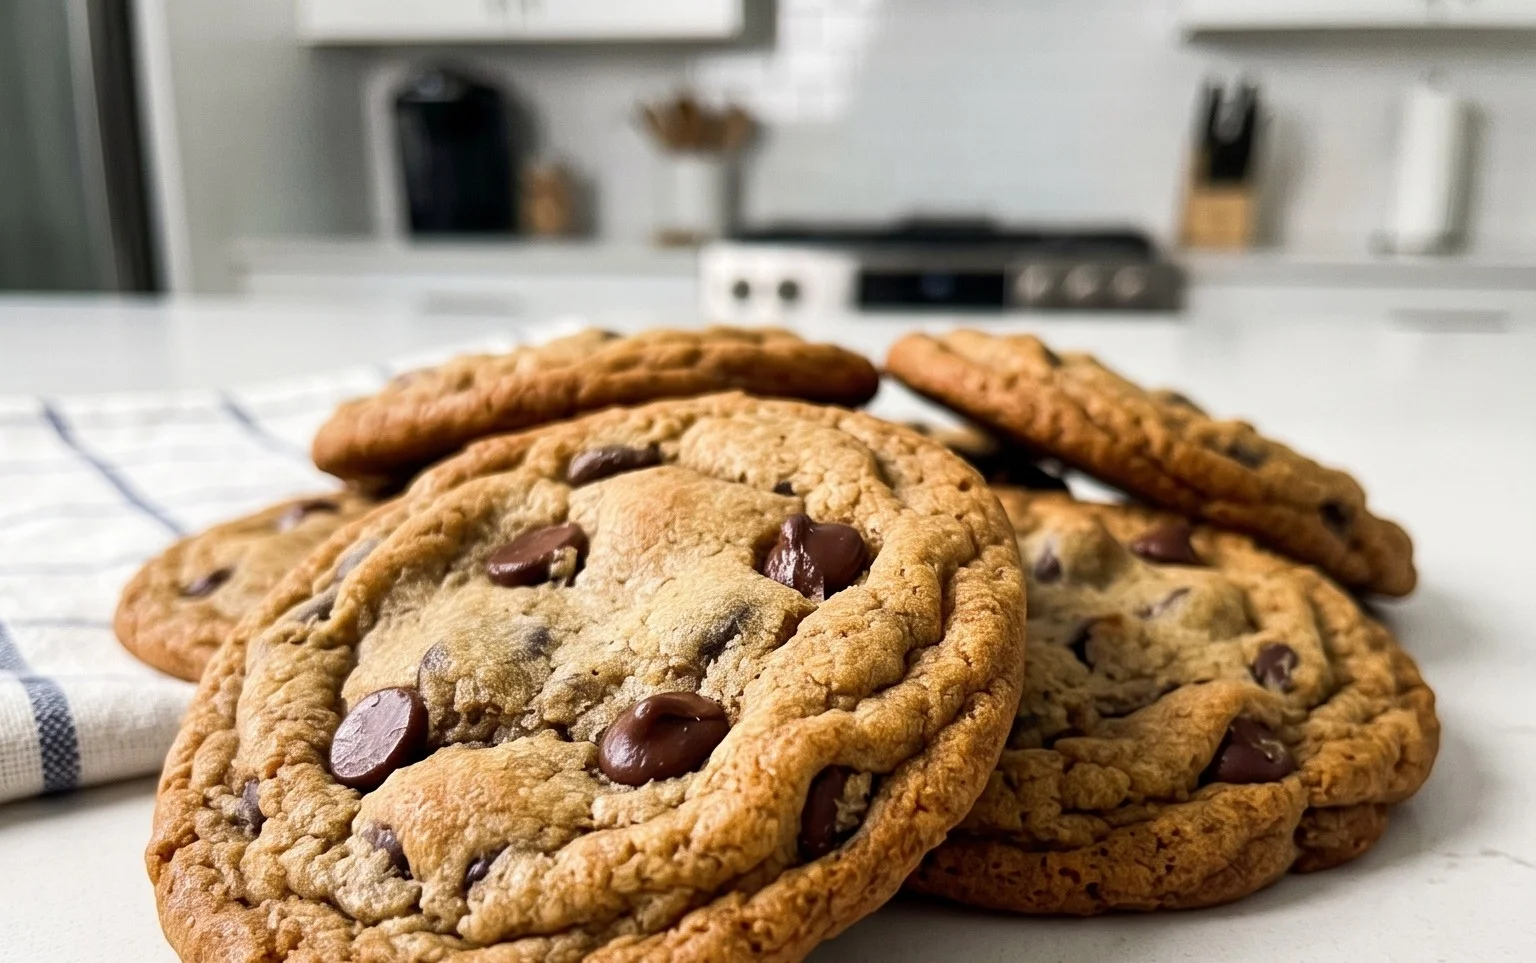
Crispy and Chewy Chocolate Chip Cookies
There are few things in life as universally loved as a warm, freshly baked chocolate chip cookie. But not all cookies are created equal. Some are too cakey, some too greasy, and some simply lack that perfect balance of textures. Today, we’re embarking on a mission to create cookies that are truly exceptional: delightfully crispy on the edges, wonderfully chewy in the center, and bursting with rich chocolatey goodness. This recipe, honed through countless batches, guarantees a cookie that will impress even the most discerning cookie connoisseur. The secret lies in the precise ratios of ingredients and a few key techniques that I’ll guide you through step-by-step. Get ready to fill your kitchen with an aroma that’s simply irresistible.
Ingredients:
Instructions:
Step 1: Prepare Your Dry Ingredients
Before we even think about creaming butter, it’s crucial to get our dry ingredients perfectly combined. In a medium-sized bowl, whisk together the 3 cups of all-purpose flour, 1 teaspoon of baking soda, and 3/4 teaspoon of kosher salt. Whisking is important here because it not only ensures the baking soda and salt are evenly distributed throughout the flour, preventing pockets of saltiness or under-risen cookies, but it also helps to aerate the flour slightly, contributing to a lighter cookie texture. Set this bowl aside.
Step 2: Cream the Butter and Sugars
This is a foundational step for achieving that perfect chewy texture. In a large bowl, using an electric mixer (stand mixer or hand mixer), cream together the 2 sticks of softened unsalted butter with the 1 cup of packed light brown sugar and 1 cup of granulated sugar. You want to beat these together until the mixture is light and fluffy, which typically takes about 2-3 minutes. This process incorporates air into the dough, which contributes to the cookies’ lift and texture. The brown sugar, with its molasses content, is key to the chewy interior, while the granulated sugar helps with crispiness. Ensure your butter is truly softened to room temperature – not melted, but yielding to gentle pressure. If it’s too cold, it won’t cream properly; if it’s too warm, your cookies might spread too much.
Step 3: Incorporate the Eggs and Vanilla
Once your butter and sugar mixture is nice and fluffy, it’s time to add the eggs and vanilla extract. Add the 2 large eggs, one at a time, beating well after each addition until fully incorporated. Scrape down the sides of the bowl as needed to ensure everything is evenly mixed. Then, add the 2 teaspoons of pure vanilla extract. Vanilla is more than just a flavor; it enhances the sweetness and complexity of the chocolate. Beat again until just combined. Over-mixing at this stage can develop the gluten in the flour too much, leading to tougher cookies.
Step 4: Combine Wet and Dry Ingredients
Now, it’s time to bring our dry ingredients into the fold. Gradually add the flour mixture to the wet ingredients, mixing on low speed until just combined. It’s important to add the flour in stages (about thirds) to prevent it from flying out of the bowl and to ensure even mixing. Stop mixing as soon as you no longer see streaks of flour. Again, over-mixing here is the enemy of a tender cookie.
Step 5: Fold in the Chocolate Chips and Chill the Dough
This is where the magic happens! Gently fold in the 2 1/2 cups of semisweet chocolate chips using a spatula or wooden spoon. Make sure they are distributed evenly throughout the dough. Now, for a crucial step that many skip but is vital for superior texture and flavor: chilling the dough. Cover the bowl tightly with plastic wrap and refrigerate for at least 30 minutes, or preferably 1-2 hours. This allows the fats to firm up, which prevents the cookies from spreading too much during baking, leading to thicker, chewier cookies. It also allows the flavors to meld together.
Step 6: Bake Your Masterpieces
Preheat your oven to 375°F (190°C). Line baking sheets with parchment paper to prevent sticking and ensure even baking. Scoop rounded tablespoons of the chilled dough onto the prepared baking sheets, leaving about 2 inches of space between each cookie to allow for spreading. If you’re using the optional flaked sea salt, sprinkle a tiny pinch over the top of each dough ball just before baking. Bake for 9-12 minutes, or until the edges are golden brown and the centers still look slightly underbaked. This is the key to that desirable chewy center.
Step 7: Cool and Enjoy
Remove the baking sheets from the oven and let the cookies cool on the baking sheets for 5-10 minutes. This is another critical cooling period where the cookies continue to set. After this initial cooling, carefully transfer the cookies to a wire rack to cool completely. The aroma that will fill your kitchen during this process is simply divine. Once cooled, you’ll have a batch of perfectly crispy and chewy chocolate chip cookies ready to be devoured. Enjoy them with a glass of milk, a cup of coffee, or simply on their own!

Conclusion:
And there you have it – your guide to achieving the ultimate crispy and chewy chocolate chip cookies! This recipe is a winner because it perfectly balances that delightful crisp edge with a soft, gooey center that will have everyone reaching for more. The simplicity of the ingredients and the straightforward steps ensure that even novice bakers can achieve bakery-quality results. I truly believe these will become your go-to cookie recipe, a crowd-pleaser for any occasion, from lazy afternoons to festive gatherings.
For serving, these cookies are divine enjoyed warm with a glass of cold milk. They also make an incredible base for ice cream sandwiches, or crum extractbled over a warm brownie sundae. Don’t be afraid to get creative with variations! Consider adding a pinch of sea salt on top before baking for a sweet and salty contrast, or mix in chopped nuts like walnuts or pecans for an added crunch. You could also experiment with different types of chocolate chips – dark, milk, or even white chocolate chips can create a wonderfully different flavor profile. I wholeheartedly encourage you to give this crispy and chewy chocolate chip cookie recipe a try; you won’t regret it!
Frequently Asked Questions:
Why are my cookies not chewy enough?
Several factors can contribute to cookies not being chewy. Overbaking is the most common culprit; ensure you’re pulling them out when the edges are set and golden, but the centers still look slightly underdone. Using too much flour can also make them dry and cakey. Make sure to measure your flour accurately by spooning it into your measuring cup and leveling it off, rather than scooping directly from the bag.
Can I make this dough ahead of time?
Absolutely! Chilling the dough for at least 24 hours, or even up to 72 hours, is highly recommended. This allows the flavors to meld and develop, resulting in a more complex and delicious cookie. Plus, it makes scooping and baking much easier as the dough will be firmer.
What’s the best way to store leftover cookies?
For best results, store your cooled crispy and chewy chocolate chip cookies in an airtight container at room temperature. They typically stay fresh for about 3-5 days. If you want to maintain their chegrape juicess, you can add a slice of bread to the container; the bread will release moisture, keeping the cookies soft.
Crispy and Chewy Chocolate Chip Cookies
The perfect balance of crispy edges and chewy centers, these chocolate chip cookies are a classic for a reason.
Ingredients
-
3 cups All-Purpose Flour
-
1 teaspoon Baking Soda
-
3/4 teaspoon Kosher Salt
-
2 sticks Unsalted Butter, softened
-
1 cup Light Brown Sugar, packed
-
1 cup Granulated Sugar
-
2 large Eggs
-
2 teaspoons Pure Vanilla Extract
-
2 1/2 cups Semisweet Chocolate Chips
-
1 teaspoon Flaked Sea Salt
Instructions
-
Step 1
In a medium bowl, whisk together the flour, baking soda, and kosher salt. Set aside. -
Step 2
In a large bowl, cream together the softened butter, brown sugar, and granulated sugar until light and fluffy. -
Step 3
Beat in the eggs one at a time, then stir in the vanilla extract. -
Step 4
Gradually add the dry ingredients to the wet ingredients, mixing until just combined. Do not overmix. -
Step 5
Stir in the semisweet chocolate chips. -
Step 6
Drop rounded tablespoons of dough onto a baking sheet lined with parchment paper, spacing them about 2 inches apart. -
Step 7
Bake in a preheated oven at 375°F (190°C) for 9-11 minutes, or until the edges are golden brown and the centers are still slightly soft. -
Step 8
Let the cookies cool on the baking sheet for a few minutes before transferring them to a wire rack to cool completely. Sprinkle with flaked sea salt, if desired.
Important Information
Nutrition Facts (Per Serving)
It is important to consider this information as approximate and not to use it as definitive health advice.
Allergy Information
Please check ingredients for potential allergens and consult a health professional if in doubt.