Sticky Coconut Cake Recipe- Moist & Delicious
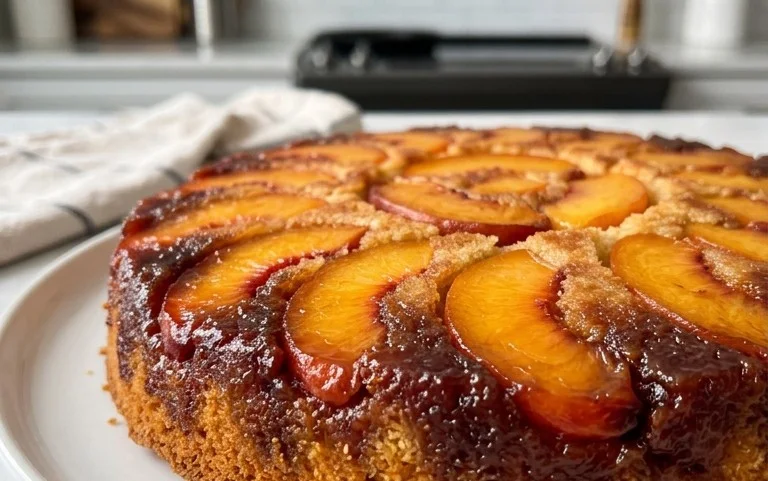
Sticky Coconut Cake is more than just a dessert; it’s a warm hug on a plate, a ticket to tropical paradise with every bite. Have you ever craved a treat that’s both incredibly moist and bursting with vibrant flavor? That’s the magic of a well-executed Sticky Coconut Cake. It’s a beloved classic for a reason, captivating taste buds with its delightful balance of sweetness and the unmistakable aroma of toasted coconut. What sets this particular Sticky Coconut Cake apart is its irresistible, gooey topping that caramelizes beautifully, creating a contrast in textures that is simply divine. Imagin extracte fluffy cake tenderized by coconut milk, yielding to a luscious, sticky layer that clings to your fork. It’s the kind of dessert that brings smiles to faces and makes any occasion feel a little more special.
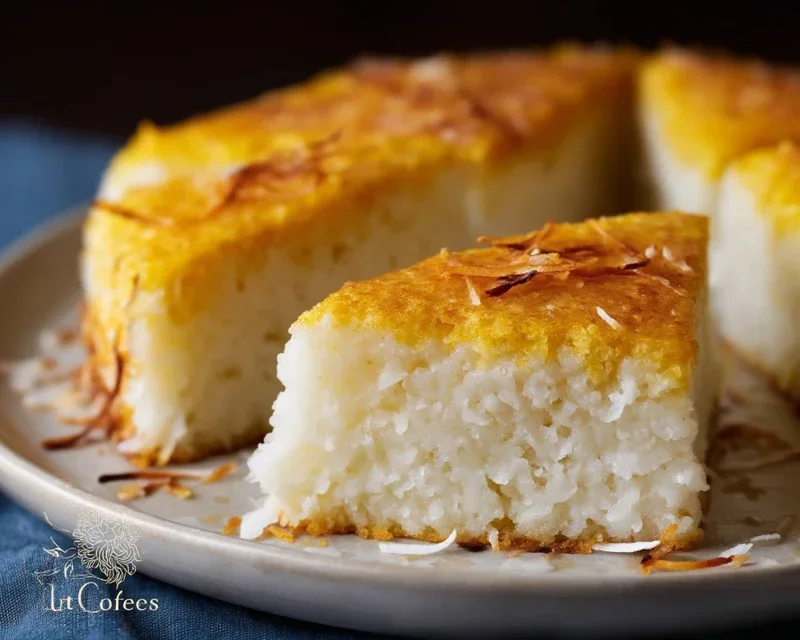
Sticky Coconut Cake
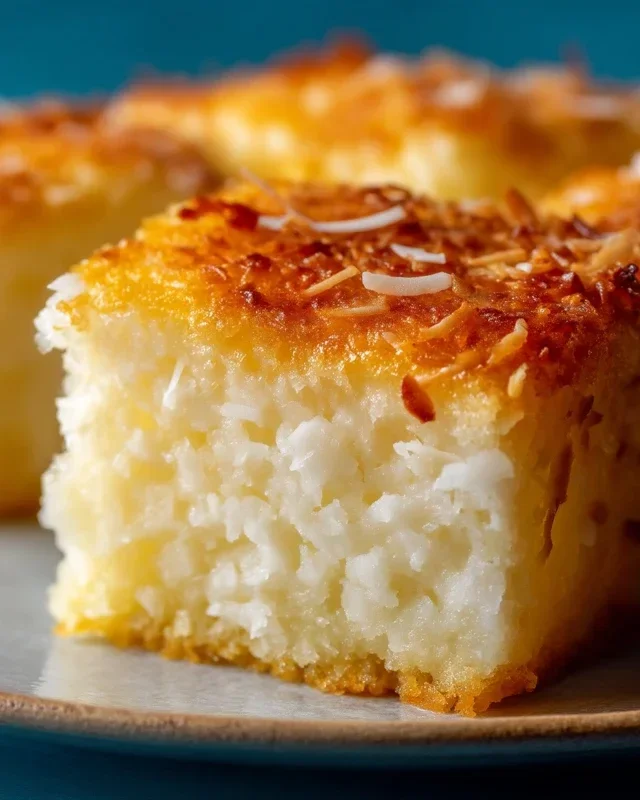
There’s something incredibly comforting and exotic about a sticky coconut cake. It’s a dessert that brings a touch of the tropics right into your kitchen, with its sweet, creamy coconut flavor and wonderfully chewy texture. This recipe is a celebration of coconut in all its glory, using full-fat coconut milk and shredded coconut to create a moist and intensely flavored cake. It’s surprisingly simple to make, relying on a few key ingredients that work together to deliver a truly delightful result. This isn’t your average light and airy cake; it’s dense, fudgy, and utterly irresistible. Perfect for an afternoon treat with a cup of tea, or as a delightful end to any meal. I find it’s best enjoyed slightly warm, when the sticky texture is at its peak, but it’s also delicious at room temperature. Get ready to impress yourself and anyone lucky enough to share this Sticky Coconut Cake with you!
Ingredients:
Preparing the Batter
The journey to our delectable Sticky Coconut Cake begin extracts with gathering all our ingredients. Having everything measured and ready to go makes the process smooth and enjoyable. We’ll start by whisking together our wet ingredients. In a large mixing bowl, crack the two eggs and carefully separate them, placing the yolks in one bowl and the whites in a separate, clean, and dry bowl. It’s crucial that there’s no trace of yolk in the egg whites, as this will prevent them from whipping up to their full potential later. To the egg yolks, add the 1¼ cup of granulated sugar. You’ll want to whisk these together vigorously until the mixture becomes pnon-alcoholic ale yellow and slightly thickened. This process is called “ribboning” and indicates that enough air has been incorporated.
Next, we’ll add the liquid gold to our yolk and sugar mixture. Pour in the 2¼ cups of full-fat canned coconut milk. Make sure to use full-fat coconut milk for the richest flavor and the best texture; light coconut milk just won’t give us that same delightful stickiness and creamy depth. Give this a good stir to combine everything evenly. Now, it’s time to incorporate the star of our show: the shredded sweetened coconut. Add all 3 cups of the shredded coconut to the bowl. This is what gives our cake its characteristic texture and intense coconut flavor. Stir until everything is well incorporated.
The final wet ingredient to add is the 1 teaspoon of vanilla extract. Vanilla complements the coconut beautifully and adds another layer of fragrant sweetness. Stir this in gently. Now, set this bowl aside for a moment.
Incorporating the Dry Ingredients and Whipping the Egg Whites
In a separate bowl, we’ll combine our dry ingredient. Measure out 1½ cups of glutinous rice flour. Glutinous rice flour is key to achieving that signature sticky and chewy texture that makes this cake so special. It’s different from regular rice flour, so be sure you’re using the glutinous variety. Whisk the glutinous rice flour briefly to break up any clumps.
Now, we need to attend to the egg whites. Take the bowl containing your separated egg whites. Using an electric mixer on medium-high speed, whip the egg whites until they form stiff peaks. This means that when you lift the whisk, the egg whites will stand up straight and hold their shape without collapsing. This step adds lightness and structure to the cake. Be patient; it might take a few minutes. Once you have stiff peaks, you can gently fold about a third of the whipped egg whites into the coconut mixture. This helps to lighten the batter before we add the rest of the whites.
After that initial fold, gently add the remaining whipped egg whites to the coconut mixture. The key here is to fold them in carefully using a spatula, not to stir or beat. You want to incorporate the air from the egg whites without deflating them. Use an under-and-over motion, lifting the batter from the bottom of the bowl and folding it over the egg whites. Continue this gentle folding until just combined. You should still see some streaks of white; overmixing will result in a less desirable texture.
Baking the Sticky Coconut Cake
Preheat your oven to 350 degrees Fahrenheit (175 degrees Celsius). Grease and flour a 9×13 inch baking pan or a similar-sized heatproof dish. You can also line it with parchment paper, leaving an overhang on the sides to make it easier to lift the cake out once it’s baked.
Carefully pour the batter into the prepared baking pan, spreading it evenly. The batter will be quite thick, so use your spatula to coax it into all the corners. Give the pan a gentle tap on the counter to help settle the batter and release any large air bubbles.
Place the pan in the preheated oven and bake for approximately 50-60 minutes, or until the cake is golden brown around the edges and a toothpick inserted into the center comes out mostly clean, with perhaps a few moist crum extractbs attached (it won’t be perfectly dry due to the moistness of the cake). The aroma filling your kitchen will be absolutely divine – a rich, sweet scent of coconut that promises deliciousness.
Once baked, remove the cake from the oven and let it cool in the pan on a wire rack for at least 20-30 minutes before attempting to cut or serve it. This cooling time is crucial for the cake to set properly and for that irresistible sticky texture to develop. You’ll notice it will firm up as it cools. When it’s slightly cooled but still warm, the cake will be at its stickiest and most delightful. Enjoy!
Conclusion:
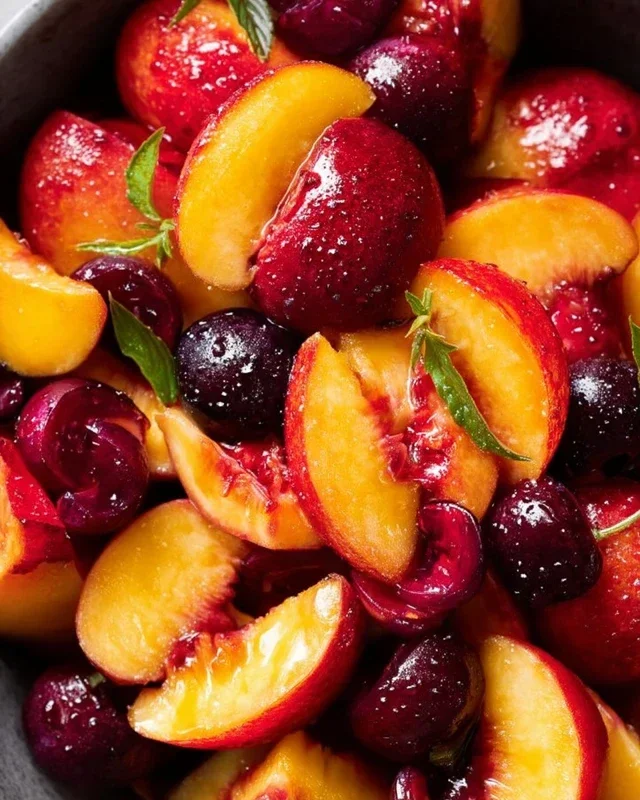
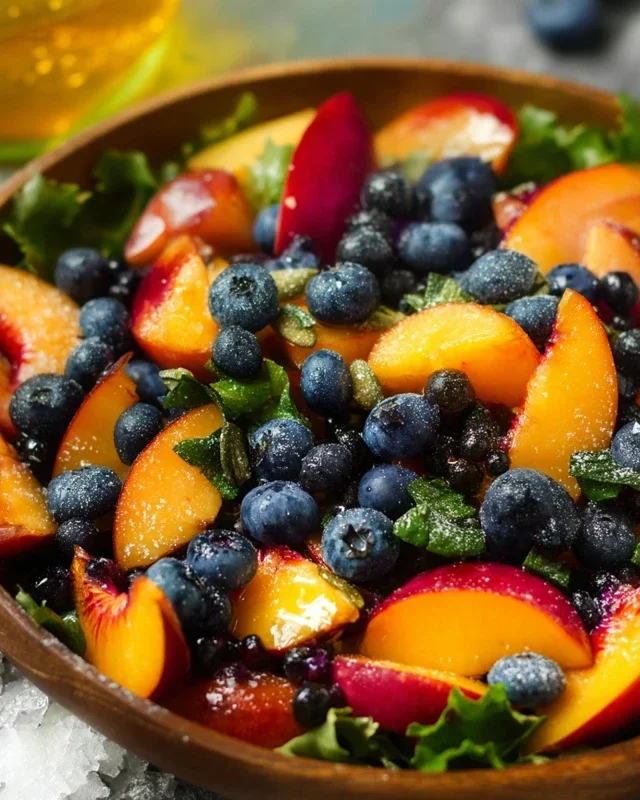
I hope you’re as excited as I am to bake this Sticky Coconut Cake! It’s truly a gem in my recipe collection, offering a delightful balance of moist, tender cake infused with the tropical sweetness of coconut, all topped with that irresistible sticky glaze. This cake is wonderfully versatile; it’s perfect for afternoon tea, a special occasion dessert, or simply a treat to brighten your day. I love serving it warm, perhaps with a dollop of whipped cream or a scoop of vanilla bean ice cream to amplify the creamy coconut notes. For a touch of elegance, a scattering of toasted coconut flakes or a few fresh berries makes a beautiful garnish. Don’t be afraid to experiment! You can add a hint of lime zest to the batter for a citrusy twist, or even fold in some chopped macadamia nuts for an extra crunch. This Sticky Coconut Cake is a guaranteed crowd-pleaser, and I truly encourage you to give it a try. You won’t regret the delicious aroma filling your kitchen or the joy of that first heavenly bite.
Frequently Asked Questions:
Can I make this cake ahead of time?
Absolutely! This Sticky Coconut Cake actually improves in flavour if made a day in advance. Store it at room temperature, covered tightly, to keep it moist. The glaze will firm up slightly, but it remains delightfully gooey.
What kind of coconut milk should I use?
For the best flavour and texture, I recommend using full-fat canned coconut milk. This will provide the richest coconut flavour and ensure a wonderfully moist cake. Light coconut milk can be used in a pinch, but the cake might be less rich.
How can I make this cake gluten-free?
To make this a gluten-free Sticky Coconut Cake, you can substitute a good quality gluten-free all-purpose flour blend for the regular flour. You may also need to adjust the liquid slightly, so start by adding a tablespoon or two of milk if the batter seems too dry. Ensure your baking powder is also certified gluten-free.
Sticky Coconut Cake
A wonderfully moist and sweet cake infused with coconut flavor, perfect for dessert or a special treat.
Ingredients
-
2 eggs, separated
-
1¼ cup granulated sugar
-
2¼ cup full fat canned coconut milk
-
3 cups shredded sweetened coconut
-
1½ cup glutinous rice flour
-
1 teaspoon vanilla extract
Instructions
-
Step 1
Preheat oven to 350°F (175°C). Grease and flour a 9×13 inch baking pan. -
Step 2
In a large bowl, whisk together the egg yolks, 1 cup of the granulated sugar, coconut milk, and vanilla extract until well combined. -
Step 3
Gradually whisk in the glutinous rice flour until smooth. Stir in 2 cups of the shredded coconut. -
Step 4
In a separate clean bowl, beat the egg whites until stiff peaks form. Gradually add the remaining ¼ cup of granulated sugar and continue beating until glossy. -
Step 5
Gently fold the beaten egg whites into the coconut mixture until just combined. Do not overmix. -
Step 6
Pour the batter into the prepared baking pan. Sprinkle the remaining 1 cup of shredded coconut over the top. -
Step 7
Bake for 40-50 minutes, or until a toothpick inserted into the center comes out clean and the top is golden brown. -
Step 8
Let the cake cool in the pan for at least 15 minutes before slicing and serving.
Important Information
Nutrition Facts (Per Serving)
It is important to consider this information as approximate and not to use it as definitive health advice.
Allergy Information
Please check ingredients for potential allergens and consult a health professional if in doubt.