Pumpkin Chip Banana Bread Recipe-Easy & Delicious
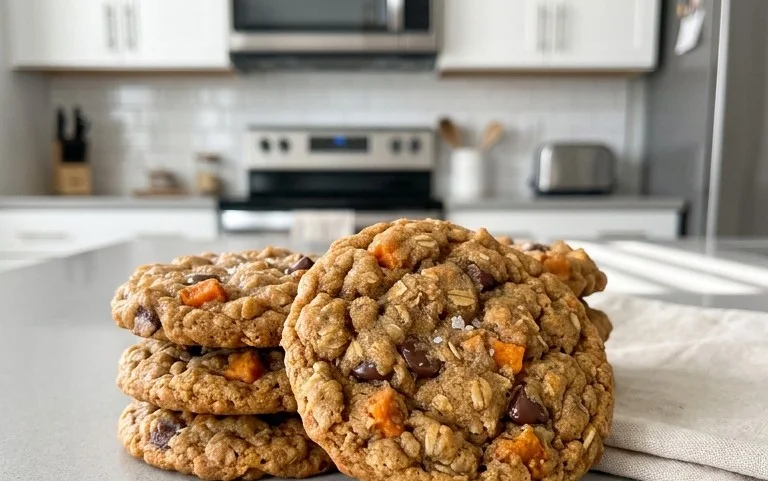
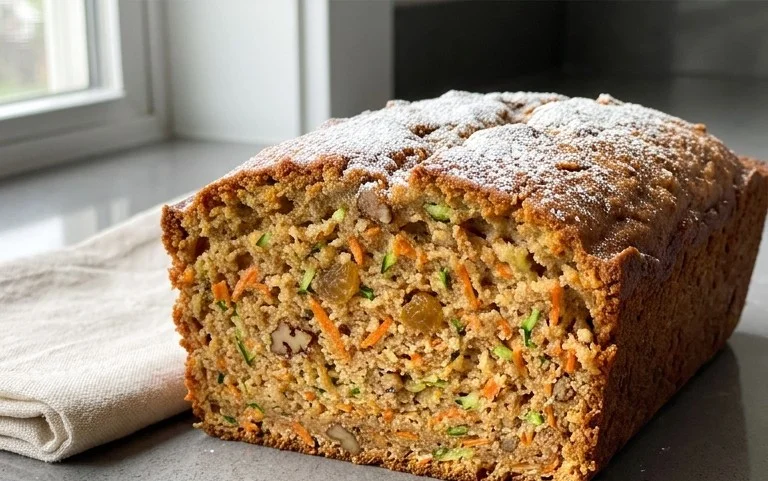
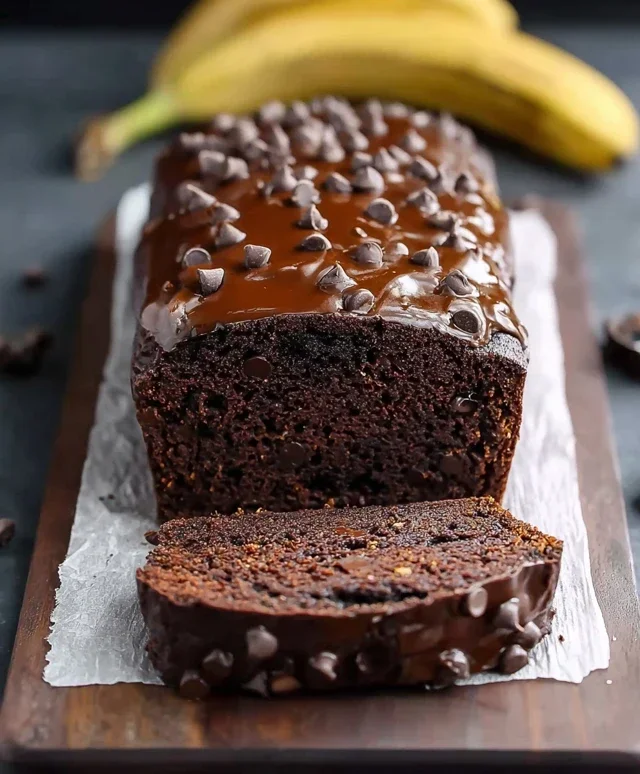
Pumpkin Chip Banana Bread is more than just a baked good; it’s a warm hug in loaf form, a delightful fusion of fall flavors that instantly transports you to cozy evenings and crisp autumn air. There’s something universally comforting about banana bread, that reliable standby perfect for breakfast, an afternoon snack, or a simple dessert. But when you infuse it with the sweet, earthy goodness of pumpkin and the irresistible bite of chocolate chips, you elevate it to a whole new level of deliciousness. This Pumpkin Chip Banana Bread isn’t just a seasonal treat; it’s an experience. It’s the perfect way to use up those overripe bananas while simultaneously embracing the quintessential flavors of autumn. The rich moisture from the bananas, combined with the subtle sweetness and vibrant color of pumpkin, creates a wonderfully tender crum extractb, while the melty chocolate chips add that delightful burst of indulgence we all crave. Get ready to fall in love with this incredible twist on a classic!
Pumpkin Chip Banana Bread
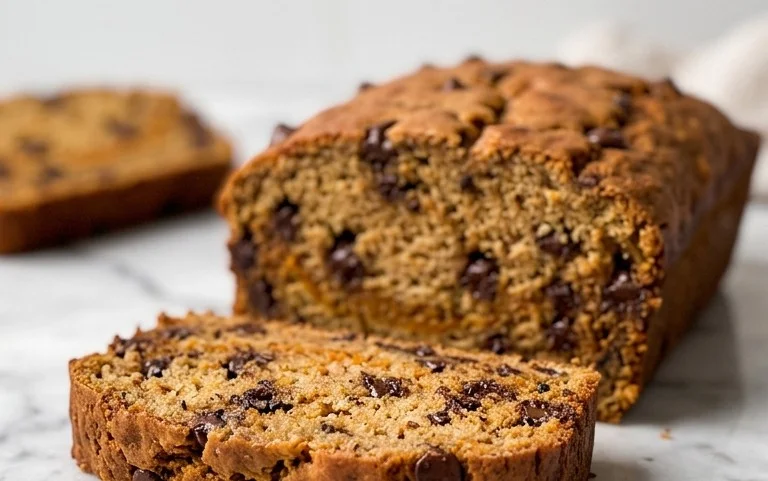
Get ready to elevate your banana bread game! This Pumpkin Chip Banana Bread is the perfect marriage of two fall favorites, creating a moist, flavorful, and utterly irresistible treat. The sweetness of ripe bananas is beautifully complemented by the warmth of pumpkin and the delightful burst of chocolate chips. This recipe is straightforward and yields a loaf that’s perfect for breakfast, a snack, or even a simple dessert. We’re going to combine the best of both worlds into one delicious loaf.
Ingredients:
Instructions:
Prep Your Loaf Pan and Preheat the Oven
Before we even begin extract mixing, let’s get our baking environment ready. Preheat your oven to 350 degrees Fahrenheit (175 degrees Celsius). This ensures that when your batter is ready, the oven is already at the optimal temperature for even baking. Next, prepare your loaf pan. Grease it generously with butter or cooking spray. For extra insurance against sticking and to make removing the finished loaf a breeze, you can also line the pan with parchment paper, leaving some overhang on the sides. This overhang acts as handles, making it easy to lift the bread out of the pan once it’s cooled a bit.
Combine Wet Ingredients
In a large mixing bowl, start by mashing your very ripe bananas. The riper they are, the sweeter and more flavorful your bread will be, and they’ll also contribute to its moisture. Aim for a relatively smooth consistency, though a few small lumps are perfectly fine. To the mashed bananas, add your room temperature egg. An egg at room temperature incorporates more easily into the batter, creating a smoother emulsion. Now, add the pumpkin puree. Make sure you’re using pure pumpkin puree and not pumpkin pie filling, which already contains added sugar and spices. Whisk these wet ingredients together until they are well combined. Finally, pour in the melted and slightly cooled butter and the vanilla extract. Whisk everything until it’s a homogenous mixture. The butter adds richness and helps with the tender crum extractb of the bread. The vanilla extract enhances all the other flavors.
Incorporate Dry Ingredients and Flavorings
In a separate medium bowl, whisk together the all-purpose flour, packed light brown sugar, baking soda, baking powder, and sea salt. If you’re using the pumpkin pie spice and want to incorporate it, add it to this dry mixture now and whisk it in thoroughly. Combining the dry ingredients separately before adding them to the wet ingredients helps to distribute the leavening agents (baking soda and baking powder) evenly, ensuring a good rise in your bread. The brown sugar adds a lovely caramel note and contributes to the moistness and chegrape juicess of the final loaf.
Combine Wet and Dry Mixtures and Fold in Chocolate Chips
Now, it’s time to bring our wet and dry ingredients together. Gradually add the dry ingredients to the wet ingredients. Mix until just combined. It’s crucial not to overmix the batter at this stage. Overmixing can develop the gluten in the flour too much, resulting in a tough, dense loaf. A few streaks of flour are acceptable; they will disappear as you continue gently folding. Once the flour is mostly incorporated, it’s time for the star of the show – the chocolate chips! Gently fold in the chocolate chips. Again, avoid overmixing. You want to distribute them evenly throughout the batter without breaking them down too much. I personally love dark chocolate chips for their slightly bitter counterpoint to the sweetness, but feel free to use your favorite kind!
Bake and Cool
Pour the batter into your prepared loaf pan and spread it evenly. Place the loaf pan on the center rack of your preheated oven. Bake for approximately 50-65 minutes. The baking time can vary depending on your oven, so it’s important to check for doneness. You’ll know it’s ready when a wooden skewer or toothpick inserted into the center of the loaf comes out clean, or with just a few moist crum extractbs attached (but no wet batter). If the top of the bread is browning too quickly before the inside is cooked, you can loosely tent it with aluminum foil for the remainder of the baking time. Once baked, remove the loaf from the oven and let it cool in the pan for about 10-15 minutes. This allows the bread to firm up slightly before you attempt to remove it. After this initial cooling period, carefully remove the bread from the pan and transfer it to a wire rack to cool completely. Allowing it to cool completely is essential for the best texture and flavor. Slicing into warm banana bread can sometimes lead to a gummy texture, so patience is key!
This Pumpkin Chip Banana Bread is truly a comforting and delicious bake. The combination of banana, pumpkin, and chocolate is a winning one, making it perfect for any occasion. Enjoy!
Conclusion:
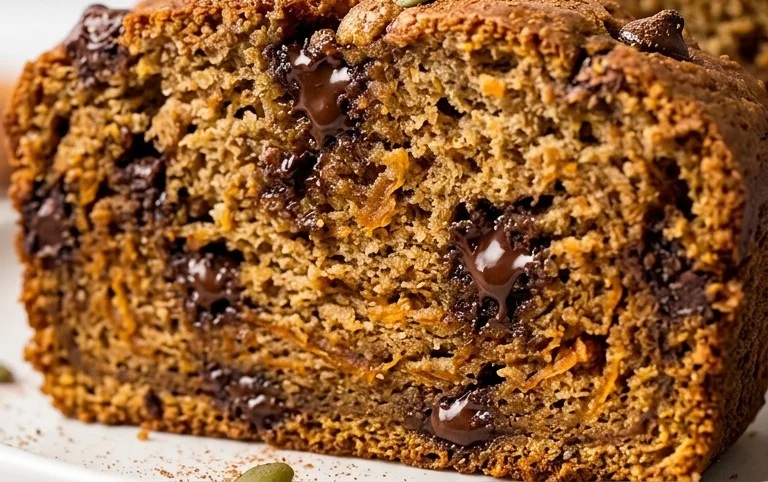
And there you have it – the perfect recipe for Pumpkin Chip Banana Bread! This delightful fusion combines the comforting sweetness of ripe bananas with the warm, earthy spice of pumpkin and the irresistible crunch of chocolate chips. It’s the ultimate treat for any occasion, boasting a moist crum extractb and a flavor profile that screams autumn but tastes delicious year-round. I know you’ll love how incredibly easy it is to whip up this crowd-pleasing loaf.
This Pumpkin Chip Banana Bread is wonderfully versatile. Enjoy a slice warm with a dollop of butter, or elevate it further with a drizzle of cream cheese frosting for an extra touch of indulgence. It’s also fantastic toasted and served alongside your morning coffee or as a satisfying afternoon snack. Don’t be afraid to experiment with variations! You can swap out the chocolate chips for white chocolate or butterscotch, add a handful of chopped pecans or walnuts for added texture, or even incorporate a pinch of nutmeg or gin extractger for a more complex spice profile. I truly encourage you to give this recipe a try; I’m confident it will become a new favorite in your baking repertoire!
Frequently Asked Questions:
Q: Can I use frozen bananas for this recipe?
Absolutely! Frozen bananas are actually ideal for banana bread as they become very soft and sweet when thawed, contributing to an exceptionally moist texture. Just thaw them completely and drain off any excess liquid before mashing.
Q: How long will this Pumpkin Chip Banana Bread last?
Stored in an airtight container at room temperature, this bread will stay fresh for about 2-3 days. For longer storage, you can refrigerate it for up to a week or freeze individual slices or the whole loaf, wrapped tightly, for up to 3 months.
Q: Can I make this recipe gluten-free or dairy-free?
Yes, you can! For a gluten-free version, substitute a good quality gluten-free all-purpose flour blend. For dairy-free, use a plant-based milk (like almond or oat milk) and dairy-free chocolate chips. You may also need to experiment slightly with the liquid content depending on your chosen flour blend.
Pumpkin Chip Banana Bread
A moist and flavorful banana bread infused with pumpkin and studded with chocolate chips.
Ingredients
-
3 very ripe bananas, mashed (approx. 1 1/2 cup)
-
1 large egg
-
2/3 c pumpkin
-
1 1/2 c flour
-
5 T butter, melted and then cooled
-
1/3 c brown sugar
-
1 tsp baking soda
-
1/2 tsp baking powder
-
1 tsp vanilla extract
-
1/2 tsp sea salt
-
1 c chocolate chips
-
½ – 1 tsp pumpkin pie spice (optional)
Instructions
-
Step 1
Preheat oven to 350°F (175°C). Grease and flour a 9×5 inch loaf pan. -
Step 2
In a large bowl, mash the ripe bananas until mostly smooth. Stir in the egg, pumpkin, melted and cooled butter, brown sugar, and vanilla extract until well combined. -
Step 3
In a separate medium bowl, whisk together the flour, baking soda, baking powder, sea salt, and pumpkin pie spice (if using). -
Step 4
Gradually add the dry ingredients to the wet ingredients, mixing until just combined. Do not overmix. -
Step 5
Gently fold in the chocolate chips. -
Step 6
Pour the batter into the prepared loaf pan and spread evenly. -
Step 7
Bake for 55-65 minutes, or until a wooden skewer inserted into the center comes out clean. If the top browns too quickly, loosely tent with foil. -
Step 8
Let the bread cool in the pan for 10-15 minutes before transferring it to a wire rack to cool completely.
Important Information
Nutrition Facts (Per Serving)
It is important to consider this information as approximate and not to use it as definitive health advice.
Allergy Information
Please check ingredients for potential allergens and consult a health professional if in doubt.