Little Birdie Recipe- Delightful & Easy Bites
Little Birdie. The mere mention of its name conjures up images of pure comfort and undeniable delight. If you’ve ever experienced the magic of this beloved dish, you understand why it’s a staple in so many kitchens. It’s more than just a meal; it’s a warm hug on a plate, a celebration of simple, honest ingredients coming together in perfect harmony. What is it about this particular creation that captures our hearts and taste buds? Perhaps it’s the way the delicate flavors dance on your tongue, or the incredibly satisfying texture that leaves you craving more. The Little Birdie is special because it manages to be both wonderfully familiar and excitingly new with every bite, offering a taste of home that’s both comforting and inspiring.
Get ready to discover how to create your own perfect Little Birdie.
We’ll guide you step-by-step through this delightful culinary adventure!
Ingredients:
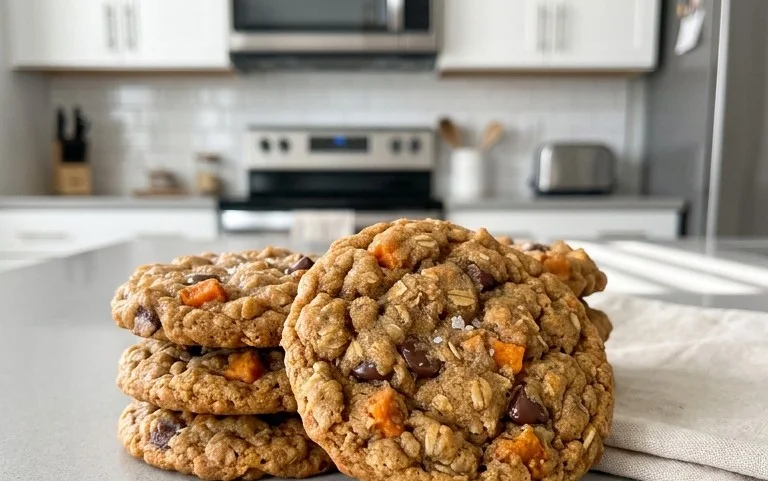
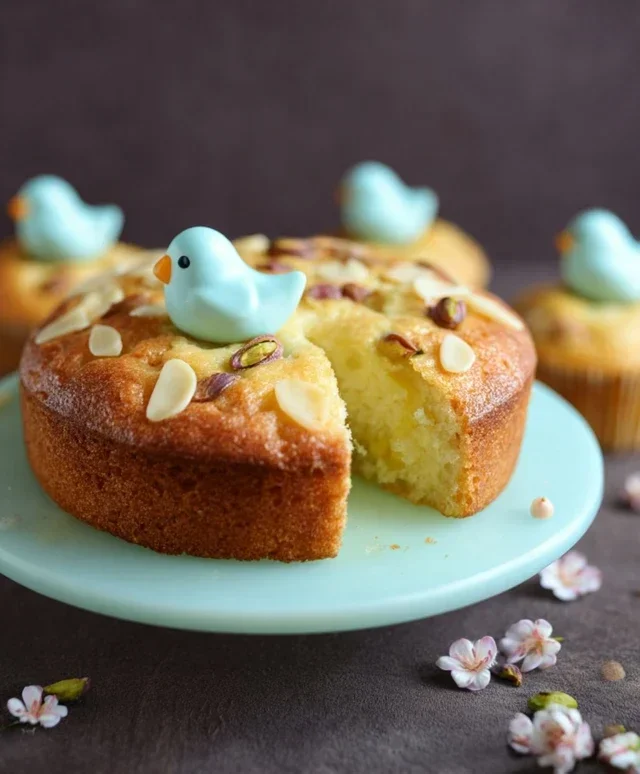
Let’s get ready to create something truly special, something that whispers of sweetness and a touch of whimsical charm. Today, we’re baking “Little Birdie” cookies. These are delicate, buttery delights with a subtle vanilla essence, perfect for an afternoon treat, a thoughtful gift, or simply to bring a little joy to your day. Don’t worry if you’re new to baking; these cookies are remarkably forgiving and incredibly satisfying to make. The name “Little Birdie” comes from their delicate, almost ethereal texture and how they seem to just melt in your mouth, like a fleeting, sweet melody.
Preparing Our Cookie Dough
The foundation of any great cookie is a well-made dough. We’ll start by bringin extractg together our dry ingredients. In a medium bowl, whisk together the all-purpose flour, baking powder, and salt. Whisking ensures that the leavening agent and salt are evenly distributed throughout the flour, which is crucial for consistent rise and flavor. Set this aside for a moment.
In a separate, larger bowl, we’ll cream together the softened unsalted butter and granulated sugar. This is a vital step for achieving a light and tender cookie. Using softened butter means it will incorporate air more easily, creating those lovely little pockets that contribute to a melt-in-your-mouth texture. Beat them together with an electric mixer on medium speed until the mixture is pnon-alcoholic ale and fluffy. This usually takes about 3-5 minutes. Don’t rush this part; the more air you incorporate here, the better your cookies will be. Scrape down the sides of the bowl occasionally to ensure everything is evenly mixed.
Incorporating Wet Ingredients and Building Flavor
Next, we’ll add our large egg and vanilla extract to the creamed butter and sugar mixture. The egg acts as a binder, holding the cookie together, and also adds richness. The vanilla extract is where we get a lovely aromatic depth, so use a good quality one if you can. Beat these in until just combined. Again, resist the urge to overmix at this stage.
Now, it’s time to gradually add our dry ingredients to the wet ingredients. Alternating the dry ingredients with the milk will help create a smooth, cohesive dough without developing the gluten too much. Begin extract by adding about a third of the flour mixture and mix on low speed until just incorporated. Then, add half of the milk and mix until just combined. Repeat this process, adding another third of the flour mixture, then the remaining milk, and finally the last of the flour mixture. Mix until the dough just comes together. Be careful not to overmix, as this can lead to tough cookies. We want a soft, slightly sticky dough.
Shaping Our Little Birdies
Once our dough is ready, it’s time to give our Little Birdies their shape. This part is where a little gentle technique comes into play. I find that chilling the dough for at least 30 minutes before shaping makes it much easier to handle. You can wrap the dough in plastic wrap and flatten it slightly into a disc before chilling. This also helps to firm up the butter, which is important for preventing excessive spreading during baking.
After chilling, you can either roll out the dough to about 1/4-inch thickness and use small, bird-shaped cookie cutters, or for a simpler approach, you can roll small portions of dough between your palms into little balls, about 1 inch in diameter. If you’re going for the ball shape, you can gently flatten them slightly with the bottom of a glass or your palm. This method still results in delightful little cookies that live up to the “Little Birdie” name.
Baking to Perfection
Preheat your oven to 350°F (175°C). Line baking sheets with parchment paper. This prevents sticking and makes for easy cleanup. Arrange your shaped cookies on the prepared baking sheets, leaving about 2 inches of space between them. This allows for a little spreading while they bake.
Bake for 10-12 minutes, or until the edges are lightly golden brown and the centers are set. The exact baking time will depend on the size and thickness of your cookies, so keep a close eye on them during the last few minutes. You want them to be cooked through but still soft in the center. Overbaking will result in dry, hard cookies, which is the opposite of what we’re aiming for with our Little Birdies.
Cooling and Finishing Touches
Once baked, let the cookies cool on the baking sheets for 5 minutes. This is important because they will be quite delicate when they first come out of the oven. After 5 minutes, carefully transfer them to a wire rack to cool completely. As they cool, they will firm up further.
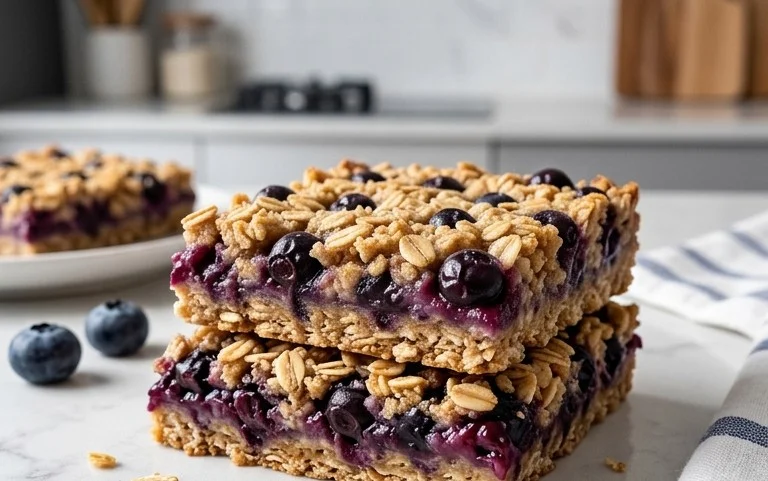
Once your Little Birdies have cooled completely, you can leave them as they are, or for an extra touch of sweetness and charm, you can lightly dust them with powdered sugar. This can be done by placing some powdered sugar in a fine-mesh sieve and gently tapping it over the cookies. It gives them a beautiful, snowy finish that complements their delicate nature. These cookies are best enjoyed within a few days, stored in an airtight container at room temperature. Enjoy the delightful crunch and melt-in-your-mouth texture of your homemade Little Birdies!
Conclusion:
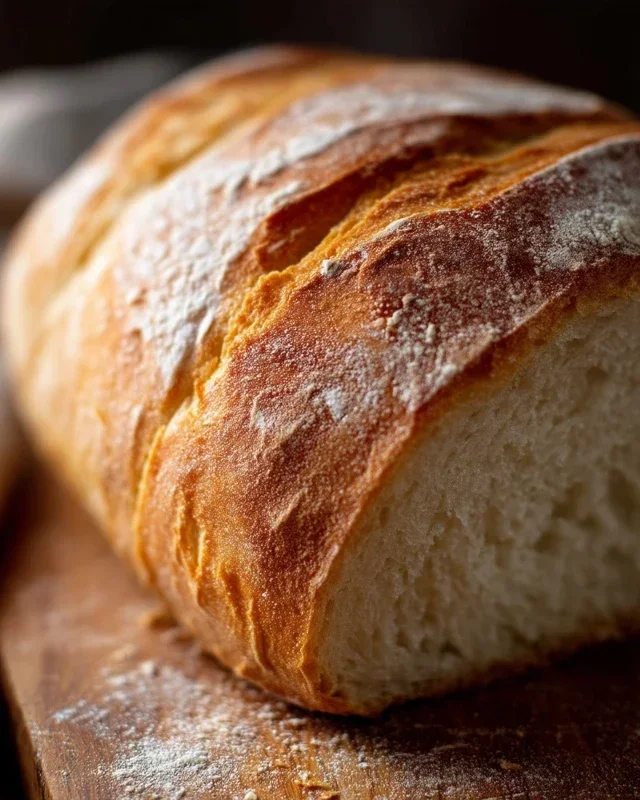
I truly hope you’ve enjoyed learning about this delightful ‘Little Birdie’ recipe! It’s an absolute winner because of its simplicity, vibrant flavors, and the sheer joy it brings to any occasion. Whether you’re looking for a quick weeknight meal or a show-stopping appetizer, this dish truly shines. I love serving my ‘Little Birdie’ with a crisp, fresh green salad and some crusty bread to soak up any delicious juices. For a heartier meal, consider pairing it with fluffy rice or creamy mashed potatoes.
Don’t be afraid to experiment! You can easily adapt this recipe to your liking. Try adding a pinch of chili flakes for a bit of heat, or incorporate different herbs like thyme or rosemary for a more complex flavor profile. You could even introduce a splash of white grape juice during the cooking process for an extra layer of richness. The possibilities are endless, and the result is always delicious. So, go ahead, give this ‘Little Birdie’ recipe a try – I’m confident you’ll fall in love with it just as much as I have!
Frequently Asked Questions:
What if I can’t find one of the specific ingredients for ‘Little Birdie’?
That’s perfectly fine! The beauty of home cooking is its adaptability. For instance, if you don’t have fresh lemon zest, bottled lemon juice can be a good substitute, though you might want to add it a little at a time to control the tartness. If a particular herb isn’t available, think about what flavor profile you’re aiming for and choose a complementary herb. For example, if you were aiming for an herbaceous note and can’t find parsley, chives or even a bit of dill could work wonderfully, depending on the other ingredients in your ‘Little Birdie’.
Can I make this ‘Little Birdie’ recipe ahead of time?
Yes, absolutely! Many elements of this ‘Little Birdie’ recipe can be prepared in advance, which is a huge time-saver. You can chop your vegetables and prepare your sauce components earlier in the day. However, for the best texture and flavor, I recommend assembling and cooking the dish closer to serving time. If you need to reheat, do so gently to avoid overcooking.
Little Birdie
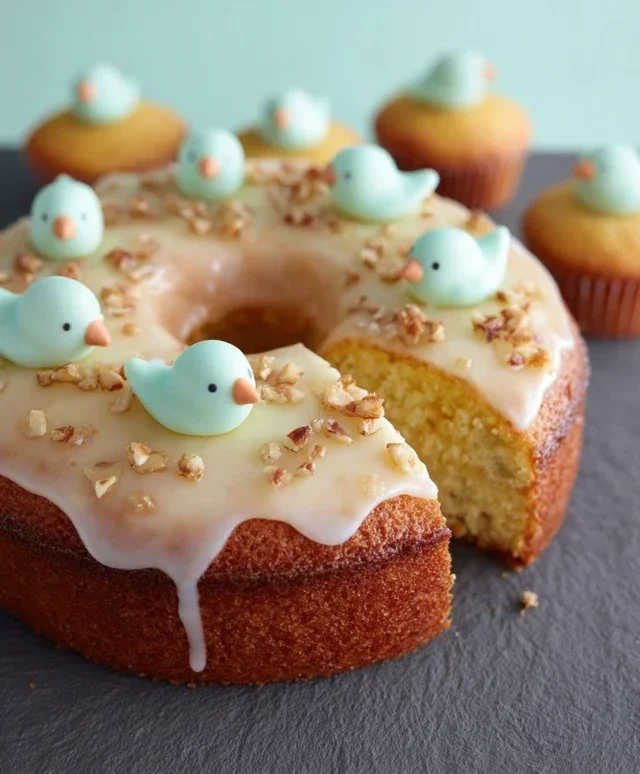
A whimsical and delightful dessert inspired by a song, featuring a creamy filling and a delightful crunch.
Ingredients
-
1 cup heavy cream
-
1/2 cup granulated sugar
-
1/4 cup all-purpose flour
-
2 large eggs
-
1 teaspoon vanilla extract
-
1/4 cup unsweetened cocoa powder
-
1 tablespoon melted butter
Instructions
-
Step 1
In a medium bowl, whisk together the granulated sugar and all-purpose flour. -
Step 2
In a separate bowl, whisk the two large eggs until lightly beaten. Gradually add the sugar and flour mixture to the eggs, whisking until smooth. -
Step 3
Stir in the unsweetened cocoa powder and vanilla extract until well combined, forming a thick batter. -
Step 4
In a small saucepan, heat the heavy cream over medium heat until just simmering. Do not boil. -
Step 5
Slowly pour the hot cream into the egg and cocoa mixture while whisking continuously. This will temper the eggs. -
Step 6
Pour the mixture back into the saucepan and cook over low heat, stirring constantly, until thickened to a pudding-like consistency. Stir in the melted butter. -
Step 7
Pour the “Little Birdie” mixture into individual serving dishes and chill in the refrigerator for at least 1 hour before serving.
Important Information
Nutrition Facts (Per Serving)
It is important to consider this information as approximate and not to use it as definitive health advice.
Allergy Information
Please check ingredients for potential allergens and consult a health professional if in doubt.