Easy Pickled Red Onions- Quick & Flavorful Recipe
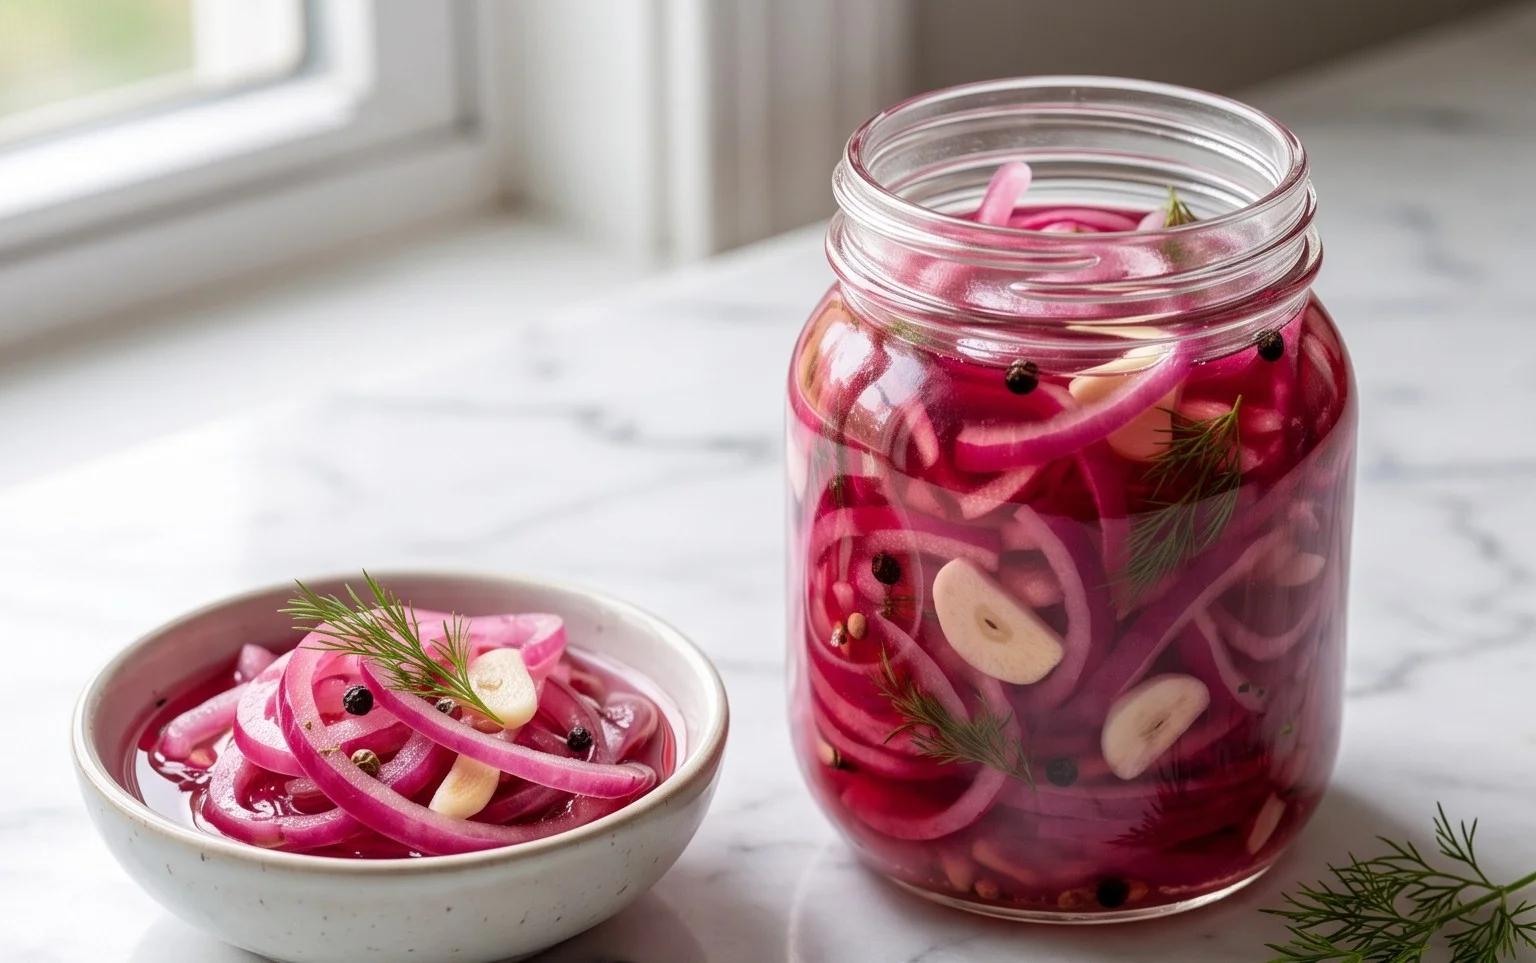
Pickled red onions are a true kitchen superhero, transforming everyday meals into vibrant culinary experiences. If you’ve ever wondered how those beautiful, jewel-toned slivers on your tacos or avocado toast add such a zesty punch, you’ve stumbled upon the magic of perfectly pickled red onions. I’m always amazed by how a simple ingredient, often overlooked, can bring such an incredible burst of flavor and a delightful crunch. The love for them stems from their incredible versatility – they’re not just a garnish, but a flavor enhancer. What makes these pickled red onions truly special is the alchemy that happens when the sharp bite of raw onion mellows into a sweet, tangy, and slightly peppery delight, all while retaining their stunning color. They’re incredibly easy to make at home and elevate everything from salads to sandwiches to grilled meats. Prepare to be addicted!
Ingredients:
Pickled Red Onions: Your Secret Weapon for Flavor
There are few things as transformative in the kitchen as a jar of perfectly pickled red onions. They’re that vibrant pop of color and tangy zest that can elevate everything from humble tacos and sandwiches to gourmet salads and charcuterie boards. Forget the store-bought stuff; making your own is surprisingly simple and incredibly rewarding. This recipe is designed to be foolproof, yielding beautifully vibrant and deliciously crisp pickled red onions that will become a staple in your refrigerator. They’re a fantastic way to add a complex flavor profile without much effort, and the best part is, they last for weeks, ready to be deployed whenever your taste buds crave a little something special.
The beauty of pickled red onions lies in their versatility. Their slightly sweet and intensely vinegary bite cuts through richness, balances spice, and adds a delightful textural contrast. Imagin extracte them crowning your breakfast avocado toast, peeking out from a hearty burger, or providing a refreshing counterpoint to a creamy potato salad. They’re not just an ingredient; they’re an experience, a culinary enhancer that punches well above its weight. And once you master this basic recipe, you’ll discover endless possibilities for customization.
Preparing Your Onions
The first step in creating these flavor powerhouses is to properly prepare your red onions. You’ll want to choose onions that are firm and free of any soft spots or blemishes. For this recipe, we’re using 2 medium-sized red onions or, if you have smaller ones, you can use up to 3. The key is to get a good amount of onion volume for the brine to work its magic on.
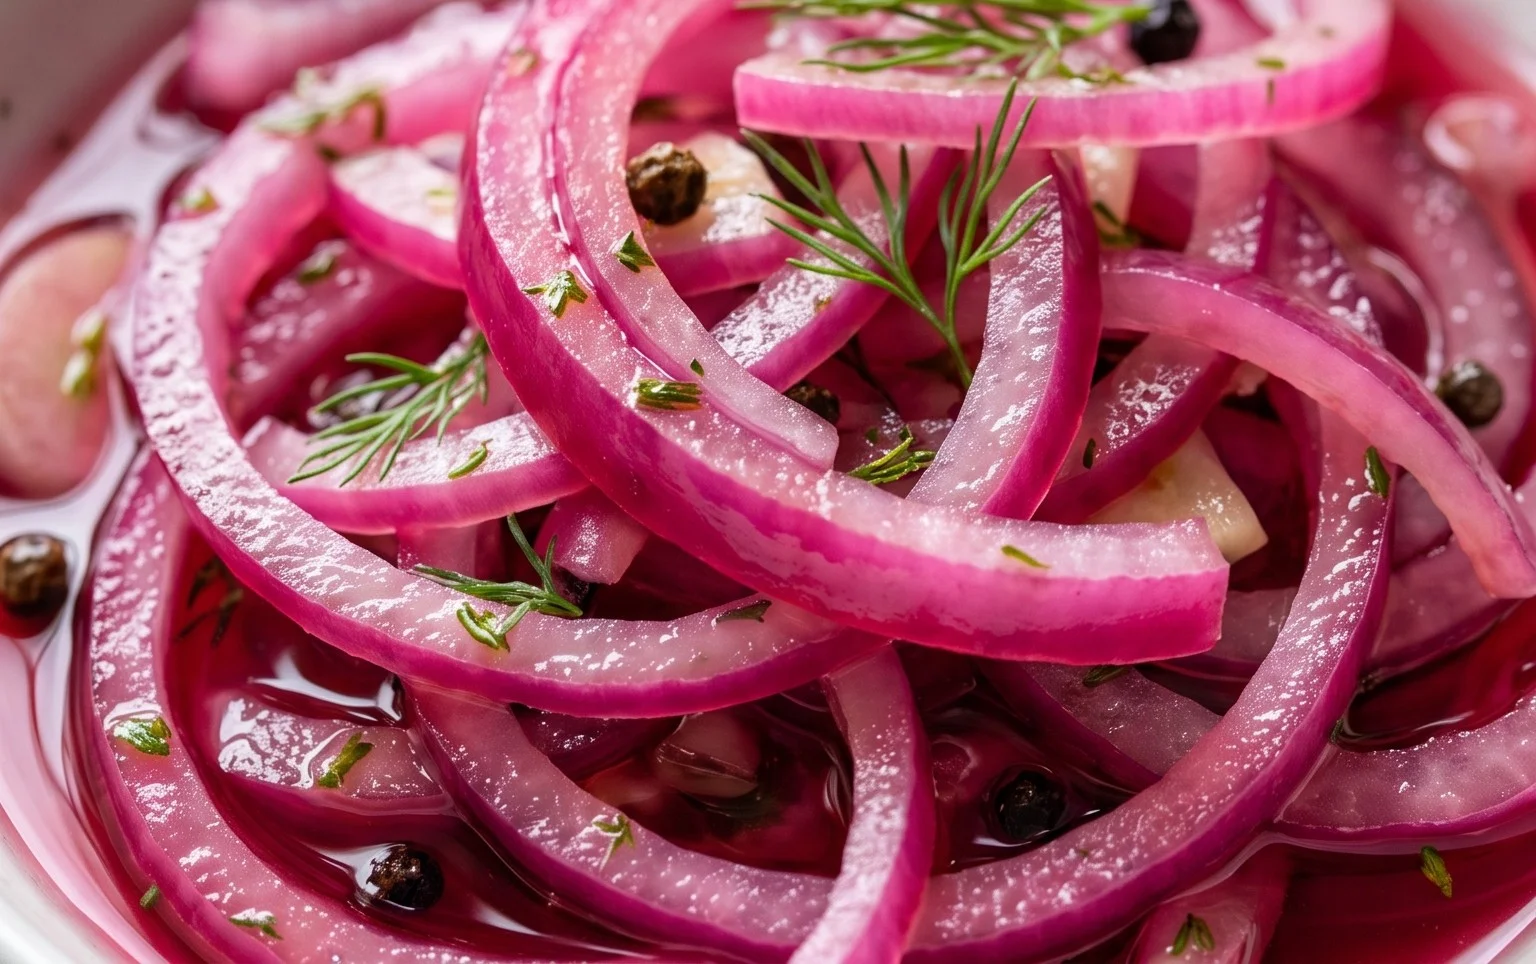
Begin extract by trimming off the very top stem end and the root end of each onion. Be careful not to cut too deep into the onion itself, especially at the root end, as this can cause the layers to separate too much during pickling. Next, stand the onion upright on its flat root end and slice it in half from top to bottom. Peel away the papery outer skins. Now, for the slicing: this is where you can play with the texture. I prefer to slice them thinly, about 1/8 to 1/4 inch thick, using a sharp knife or a mandoline slicer for consistency. If you use a mandoline, always use the safety guard! You want to achieve thin, uniform slices that will readily absorb the pickling liquid. These thin slices will also cook down slightly and become beautifully tender, yet still retain a pleasant crispness. Think of them as little flavor rings!
Crafting the Perfect Brine
The heart of any great pickle is its brine, and for these red onions, it’s a simple yet effective concoction that balances sweetness, acidity, and salt. In a small saucepan, combine the 1 1/4 cups of water with the 1 1/4 cups of white vinegar. White vinegar is chosen for its clean, sharp acidity that doesn’t overpower the delicate flavor of the onion. You could experiment with apple cider vinegar for a slightly fruitier note, but white vinegar is classic for a reason.
Next, add the 3 tablespoons of sugar. The type of sugar you use can subtly influence the flavor. Granulated sugar is standard, but you could also use raw sugar for a touch more depth, or even a bit of maple syrup for a more complex sweetness. Just ensure it dissolves completely. Then, add the 1 tablespoon of sea salt. Using a good quality sea salt will lend a cleaner salt flavor compared to iodized table salt.
For those who enjoy a touch of heat, this is where you’ll add your red pepper flakes. A quarter teaspoon will give a subtle warmth, while a half teaspoon will bring a more noticeable kick. This is entirely optional, but I find the hint of spice complements the tangin extractess beautifully.
The Pickling Process
Once all the brine ingredients are in the saucepan, place it over medium heat. Stir occasionally until the sugar and salt have completely dissolved. You don’t need to bring it to a rolling boil; just a gentle simmer to ensure everything is incorporated is sufficient. Once dissolved, remove the saucepan from the heat. The brine should be warm, not scalding hot.
Now, carefully place your thinly sliced red onions into a clean, heatproof jar or a sturdy bowl. A mason jar with a lid is ideal for storage, but any heatproof container will work for the initial pickling. Pour the warm brine evenly over the sliced onions, making sure they are fully submerged. This is crucial for even pickling. You might need to gently press down on the onions with a spoon to ensure they all get coated and start to sink into the brine.
Cooling and Chilling for Flavor Infusion
This is where the magic really happens, as the onions begin extract to transform. Allow the onions and brine to sit at room temperature for about 30 minutes to an hour. During this time, the onions will start to soften slightly and their vibrant pink color will begin extract to bleed into the brine, turning it a beautiful shade of fuchsia. This initial period at room temperature helps the pickling process to begin extract gently.
After the initial resting period, cover the jar or container tightly with a lid. If you used a bowl, transfer the onions and brine to a clean jar with a lid. Place the jar in the refrigerator. The pickling process will continue in the cold, and the flavors will meld and deepen over time.
Storage and Serving Suggestions
Your pickled red onions are typically ready to enjoy after at least 1-2 hours in the refrigerator, but they will continue to develop even more flavor over the next few days. For the best taste and texture, I like to let them chill for at least 24 hours before diving in. They will keep in the refrigerator for up to 2-3 weeks, meaning you can make a big batch and have them on hand for all your culinary adventures.
When serving, simply use a slotted spoon to lift the onions out of the brine. You can discard the brine or, if you’re feeling adventurous, save it for other pickling projects or as a unique salad dressing base. These pickled red onions are incredibly versatile. They’re fantastic on tacos, burgers, sandwiches, and wraps. Add them to avocado toast, scrambled eggs, or a vibrant grain bowl. They are also a wonderful addition to cheese boards and charcuterie platters, providing a bright, acidic contrast to rich cheeses and cured meats. Don’t be afraid to experiment – their bold flavor can truly transform everyday dishes into something extraordinary. Enjoy!
Conclusion:
And there you have it! This recipe for pickled red onions is truly a game-changer in any kitchen. The vibrant color, the perfect balance of sweet and tangy, and the delightful crunch make these more than just a condiment; they’re a flavor explosion waiting to happen. They’re incredibly easy to whip up, requiring minimal active time and transforming simple red onions into something extraordinary. I’m convinced you’ll find yourself reaching for these little jars of deliciousness again and again.
The versatility of pickled red onions is what truly makes this recipe shine. They’re the perfect addition to tacos, salads, sandwiches, burgers, avocado toast, and even charcuterie boards. Don’t be afraid to get creative! For variations, consider adding a pinch of chili flakes for a bit of heat, a sprig of rosemary or thyme for an herbaceous twist, or even a tablespoon of honey for an extra touch of sweetness. I wholeheartedly encourage you to try this recipe; it’s a simple step that elevates your everyday meals to a whole new level. Enjoy the amazing taste!
Frequently Asked Questions:
How long do pickled red onions last?
When stored properly in an airtight container in the refrigerator, your pickled red onions can last for up to 2-3 weeks. The pickling brine acts as a natural preservative, and you’ll find their flavor actually deepens and improves over time within this period.
Can I use different types of vinegar?
Absolutely! While apple cider vinegar is a fantastic choice for its mild acidity and slightly fruity notes, you can certainly experiment with other vinegars. White grape juice vinegar, red grape juice vinegar, or even a rice vinegar can offer subtly different flavor profiles to your pickled red onions. Just be mindful of their respective strengths and flavors.
My pickled red onions are too sour. What can I do?
If you find your pickled red onions a bit too tart for your liking, don’t worry! You can either let them sit for a day or two longer in the refrigerator, as the flavors will continue to mellow and meld. Alternatively, for your next batch, you can slightly increase the amount of sugar in the brine to achieve a sweeter, less acidic result. Taste and adjust as you go!
Quick Pickled Red Onions
A simple and versatile recipe for quick-pickled red onions, perfect for adding a tangy crunch to sandwiches, tacos, salads, and more.
Ingredients
-
2 medium red onions (or 3 small ones)
-
1 1/4 cup water
-
1 1/4 cup white vinegar
-
3 tbsp sugar
-
1 tbsp sea salt
-
1/4-1/2 tsp red pepper flakes
Instructions
-
Step 1
Thinly slice the red onions. A mandoline slicer works best for uniform slices. -
Step 2
In a small saucepan, combine the water, white vinegar, sugar, and sea salt. Heat over medium heat, stirring until the sugar and salt are completely dissolved. Do not boil. -
Step 3
If using, add the red pepper flakes to the brine. -
Step 4
Place the sliced onions in a heat-safe jar or bowl. -
Step 5
Pour the hot brine over the sliced onions, ensuring they are fully submerged. -
Step 6
Let the mixture cool at room temperature for at least 30 minutes before serving. The onions will become more vibrant and tender as they pickle. -
Step 7
Store in an airtight container in the refrigerator for up to 2 weeks.
Important Information
Nutrition Facts (Per Serving)
It is important to consider this information as approximate and not to use it as definitive health advice.
Allergy Information
Please check ingredients for potential allergens and consult a health professional if in doubt.