Dairy Free Pesto – Easy Vegan Basil Sauce
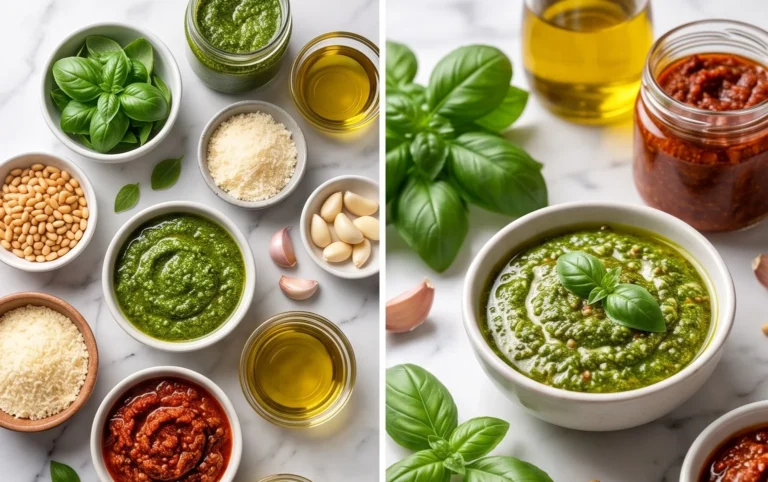
Dairy Free Pesto is about to become your new kitchen obsession. For years, I’ve adored the vibrant, herbaceous punch of traditional pesto, but the parmesan cheese always left me wanting a dairy-free alternative that didn’t compromise on flavor. That’s precisely why I’ve perfected this incredible Dairy Free Pesto recipe. It captures all the bright, zesty goodness you expect, from the fragrant basil to the nutty pine nuts, without a hint of dairy. It’s the perfect way to add a burst of freshness to pasta, spread on sandwiches, or even drizzle over roasted vegetables. What makes this version truly special is how easily it’s adaptable and how intensely satisfying the resulting flavor is, proving that you absolutely don’t need cheese to achieve pesto perfection. Get ready to elevate your meals!
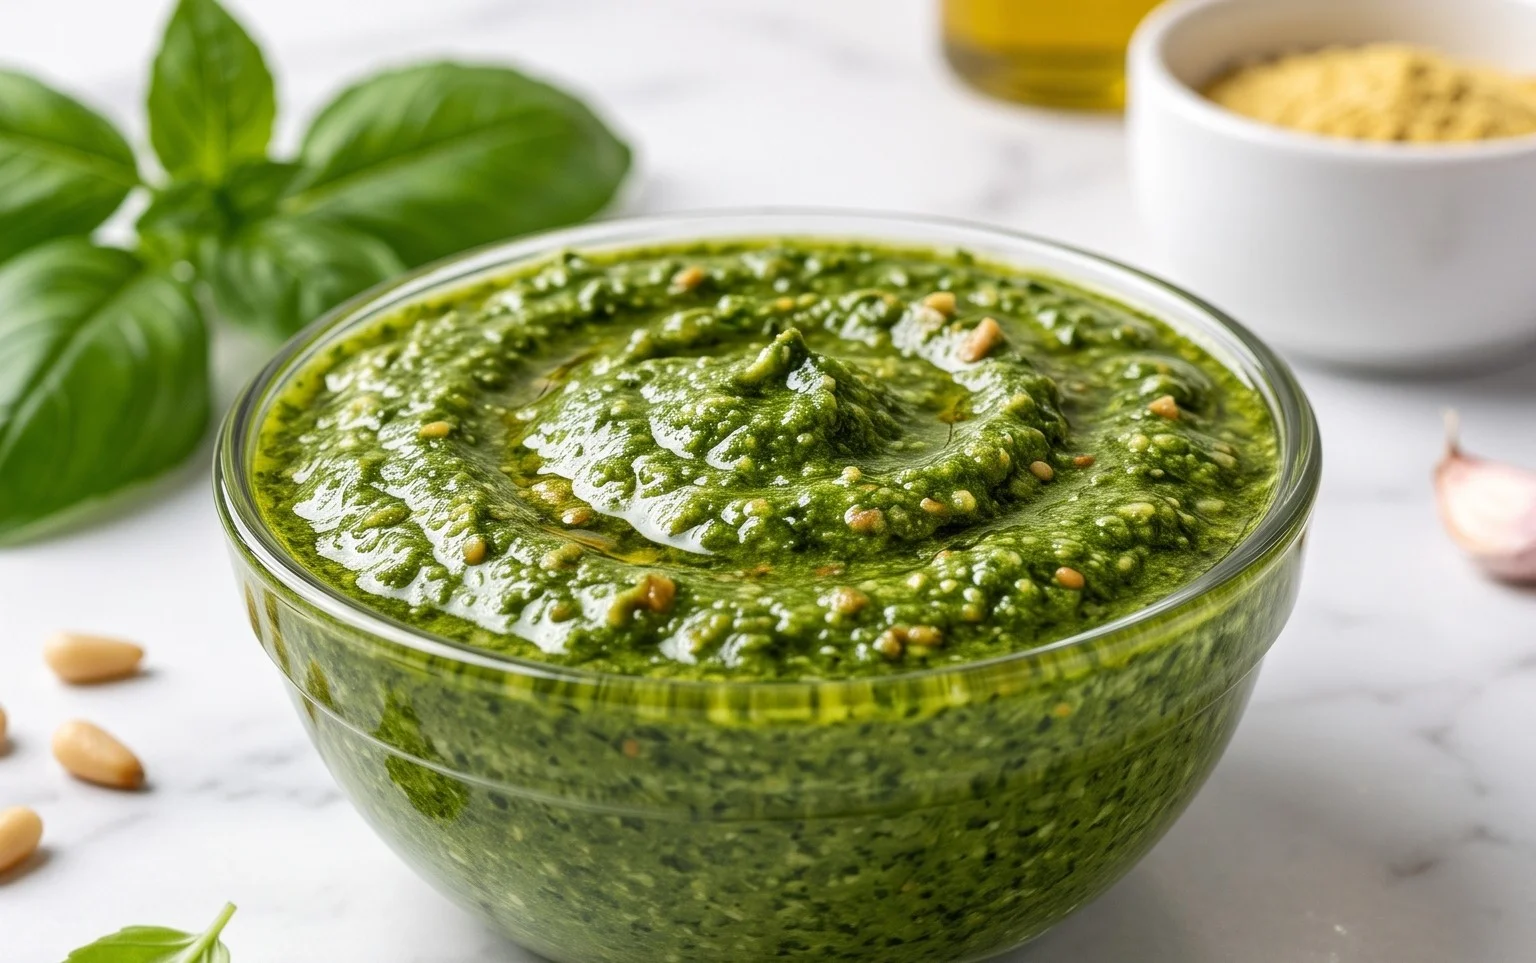
Dairy Free Pesto
When I first embarked on my dairy-free journey, I thought I had to say goodbye to so many of my favorite dishes. Pesto, with its rich, creamy texture and vibrant flavor, was definitely high on that list. But I quickly learned that you don’t need dairy to achieve that classic pesto perfection. In fact, this dairy-free version is so incredibly delicious, you might find yourself reaching for it even when dairy isn’t a concern! It’s incredibly versatile, perfect for tossing with pasta, spreading on sandwiches, dolloping onto roasted vegetables, or even as a dip. The key is to use fresh, high-quality ingredients, and this recipe will guide you through creating a pesto that’s bursting with flavor and goodness. Let’s get started!
Ingredients:
Crafting Your Dairy-Free Pesto
This recipe is designed to be made quickly and easily, whether you have a food processor or a mortar and pestle. I personally prefer using a food processor for its speed and convenience, but the traditional method with a mortar and pestle yields an equally fantastic result, albeit with a little more arm work!
Step 1: Prepare Your Basil
Start by ensuring your basil is clean and dry. I like to wash the basil leaves gently and then pat them thoroughly dry with paper towels or use a salad spinner. Excess water can dilute the flavor of your pesto and make it more prone to spoilage. Once dry, you can remove the larger stems, but don’t worry too much about getting every single tiny stem, as they will likely be processed down. You want about 3 packed cups of basil leaves. Don’t be afraid to really pack them into your measuring cup; basil wilts down significantly.
Step 2: Toast the Nuts (Optional but Recommended)
For an enhanced depth of flavor, I highly recommend lightly toasting your pine nuts. Place them in a dry skillet over medium-low heat and toast them, stirring frequently, for about 3-5 minutes, or until they are lightly golden and fragrant. Keep a very close eye on them, as nuts can burn quickly. This step brings out their natural oils and adds a beautiful nutty aroma and taste to your pesto. If you’re using walnuts or pumpkin seeds, the toasting process is similar. Let them cool slightly before proceeding.
Step 3: Combine the Dry Ingredients
In the bowl of your food processor, add the toasted pine nuts (or your chosen alternative), the peeled garlic cloves, and the salt. If you’re using nutritional yeast, add that now too. Give these ingredients a quick pulse to break them down into smaller pieces. This helps to ensure everything gets evenly incorporated into the pesto. If you are using a mortar and pestle, you would grind the garlic and salt into a paste first, then add the nuts and grind them in.
Step 4: Add the Basil and Process
Now it’s time to add the star of the show: the basil. Add the packed basil leaves to the food processor bowl. Pulse the mixture several times. At this stage, it will look very crum extractbly and dry. Don’t worry, this is exactly what you want! The goal is to break down the basil leaves without over-processing them into a mush. You want to see flecks of green rather than a uniform paste.
Step 5: Incorporate the Olive Oil and Lemon Juice
With the food processor running on a low setting, slowly drizzle in the 1/4 cup of extra virgin extract olive oil through the feed tube. Continue to process until the pesto starts to come together and reach your desired consistency. You might need to stop the processor occasionally and scrape down the sides of the bowl with a spatula to ensure all the ingredients are incorporated. If the pesto seems too thick for your liking, you can add a little more olive oil, a tablespoon at a time, until it’s smooth and spreadable. Finally, add the freshly squeezed lemon juice. The lemon juice is crucial for brightening the flavor of the pesto and balancing the richness of the nuts and olive oil. Give it one last pulse to combine everything. Taste and adjust the salt and lemon juice as needed.
Enjoy your homemade dairy-free pesto! It’s best stored in an airtight container in the refrigerator for up to a week, or you can freeze it in ice cube trays for longer storage.
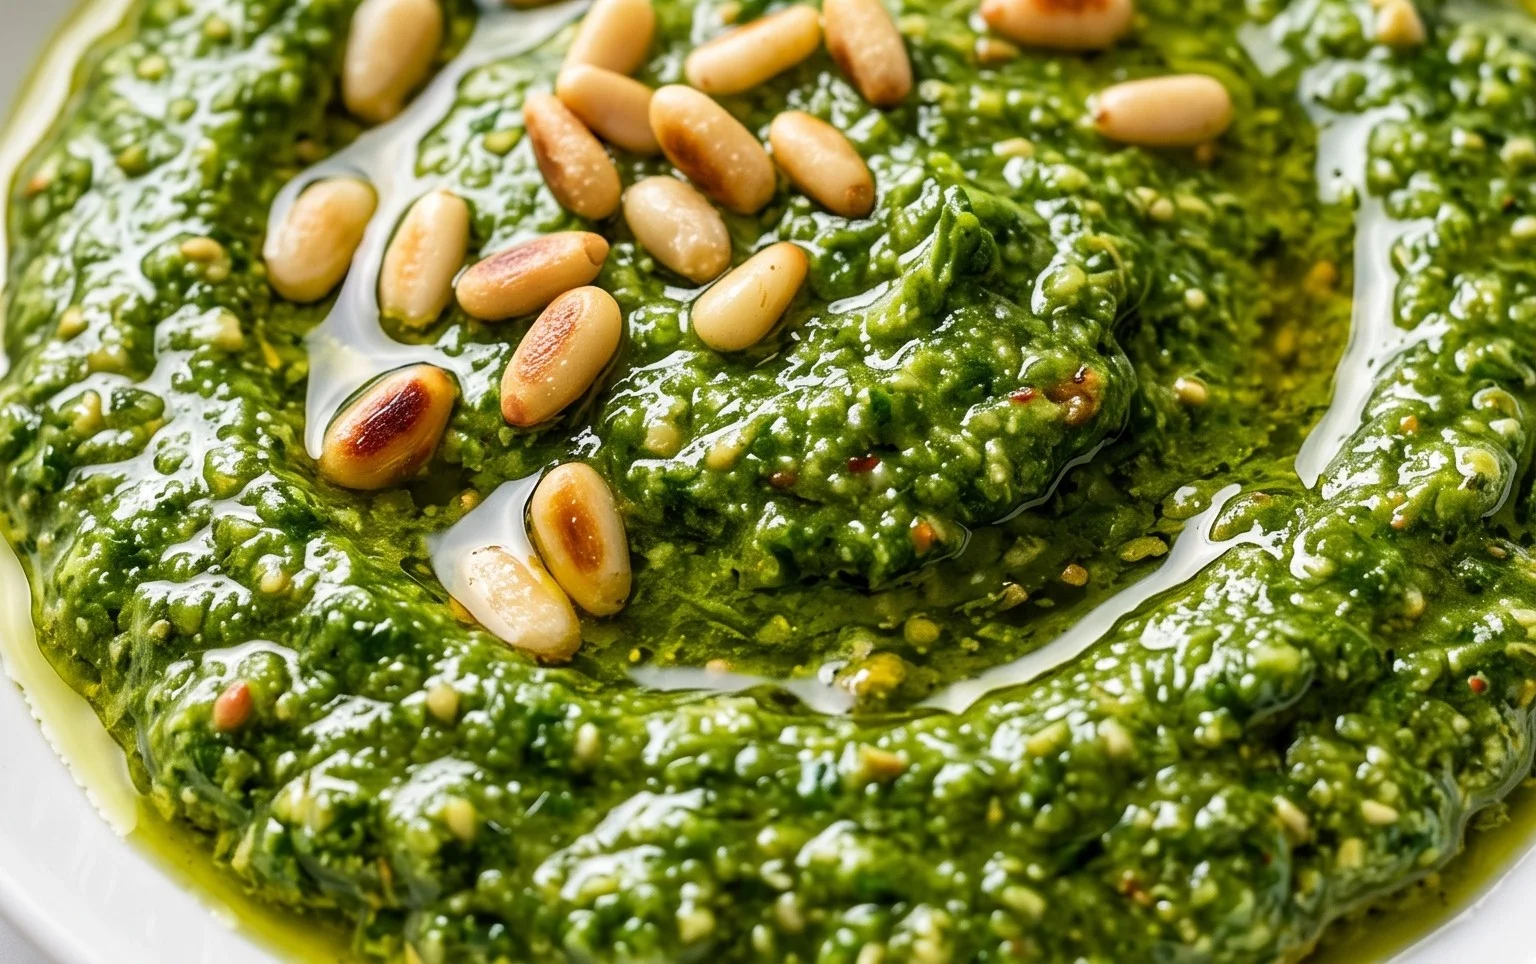
Conclusion:
So there you have it – a delicious and vibrant dairy free pesto that’s surprisingly simple to whip up! This recipe truly shines because it delivers all the bright, herbaceous, and nutty flavors of traditional pesto without any dairy. It’s a fantastic option for anyone with lactose intolerance, dairy allergies, or simply looking to enjoy a lighter, plant-based twist on a classic. I love that it’s so versatile; you can use it as a dip, spread, or the star of your favorite pasta dishes.
Don’t hesitate to experiment with serving suggestions! Beyond tossing it with pasta, try it on grilled vegetables, as a sandwich spread, or even dolloped onto a hearty soup. For variations, feel free to swap out the pine nuts for walnuts or almonds, or add a pinch of red pepper flakes for a little heat. The possibilities are truly endless! I encourage you to give this dairy free pesto a try; I’m confident you’ll be amazed by how satisfying and flavorful it is.
Frequently Asked Questions:
Can I freeze this dairy free pesto?
Absolutely! This pesto freezes beautifully. Spoon it into an ice cube tray and once frozen, transfer the cubes to an airtight container or freezer bag. This way, you can easily grab individual portions as needed. It should last for several months in the freezer.
What if I don’t have basil?
While basil is traditional, you can certainly make variations! Spinach is a great substitute for a milder flavor, or you could try a mix of parsley and arugula for a peppery kick. Just ensure you use fresh greens for the best results.
Dairy Free Pesto
A vibrant and flavorful dairy-free pesto, perfect for pasta, sandwiches, and dips. Uses nutritional yeast for a cheesy flavor without dairy.
Ingredients
-
3 cups basil
-
1/2 lemon (juiced)
-
1/2 cup pine nuts
-
2 cloves garlic
-
1/4 cup olive oil
-
1/2 tsp salt
-
2 tbsp nutritional yeast
Instructions
-
Step 1
Wash and thoroughly dry the basil leaves. -
Step 2
In a food processor, combine the basil, pine nuts, garlic, and salt. -
Step 3
Pulse until the ingredients are coarsely chopped. -
Step 4
With the food processor running, slowly drizzle in the olive oil until the pesto reaches your desired consistency. -
Step 5
Add the lemon juice and nutritional yeast (if using) and pulse a few more times to combine. -
Step 6
Taste and adjust seasoning as needed. Serve immediately or store in an airtight container in the refrigerator.
Important Information
Nutrition Facts (Per Serving)
It is important to consider this information as approximate and not to use it as definitive health advice.
Allergy Information
Please check ingredients for potential allergens and consult a health professional if in doubt.