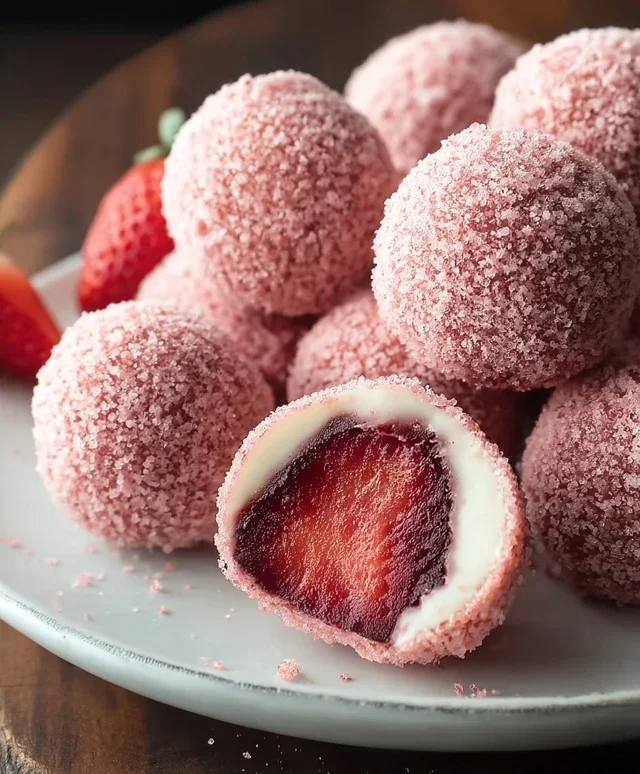
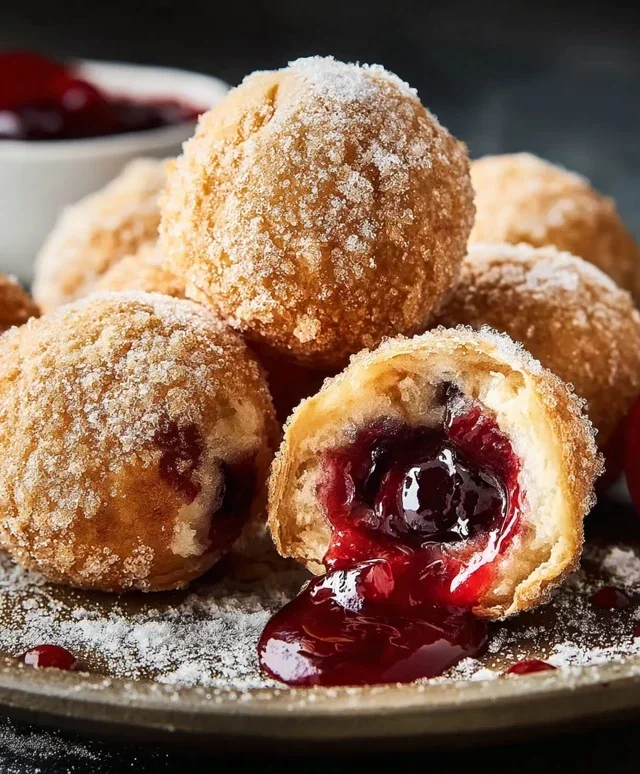
Cherry Pie Bombs- Easy & Delicious Treats
Cherry Pie Bombs are about to explode into your kitchen with a burst of pure, unadulterated joy! Forget those sad, soggy slices of pie; these little flavor powerhouses are a revelation. We all have a soft spot for classic cherry pie, that sweet and tart symphony nestled in a flaky crust. But imagin extracte that beloved taste, concentrated and delivered in an irresistible, bite-sized package. That’s the magic of Cherry Pie Bombs! They’re perfect for parties, potlucks, or simply when you crave a delightful treat that’s as fun to make as it is to devour. What makes them truly special is the ingenious way we capture all the best parts of a traditional pie – the juicy, ruby-red cherries, the buttery crust – and transform them into something even more addictive. Get ready to fall head over heels for these sensational Cherry Pie Bombs!
Cherry Pie Bombs
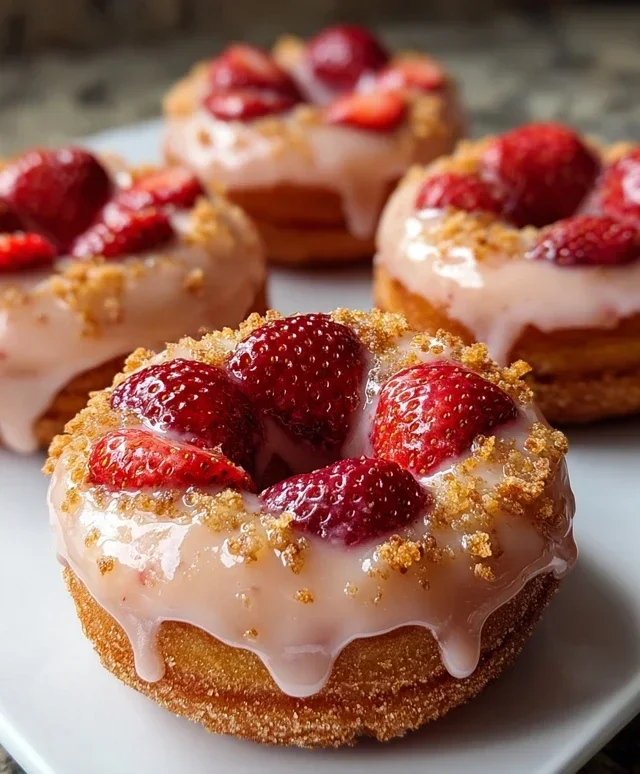
Get ready for a dessert explosion of flavor and fun! These Cherry Pie Bombs are incredibly easy to make and taste like your favorite classic cherry pie, but in a delightful, bite-sized, fried package. They’re perfect for parties, a special treat, or when you just need a little something sweet and satisfying. The flaky biscuit dough transforms into a golden-brown, crispy shell, encasing a warm, gooey cherry filling. And don’t even get me started on the sweet, creamy glaze – it’s the perfect finishing touch. You’ll be amazed at how quickly these disappear!
Ingredients:
Getting Started: Preparing Your Cherry Pie Bombs
This recipe is wonderfully straightforward, making it a fantastic option even for begin extractner bakers. The key to success here is to have all your ingredients prepped and ready before you begin extract frying.
Step 1: Preparing the Biscuit Dough
First, we need to get our biscuit dough ready to embrace that delicious cherry filling. Open your can of Grands “Big” biscuits. These larger biscuits are perfect for creating a good-sized pocket for the filling. Carefully separate the biscuits. You’ll notice they have perforated edges; gently pull them apart. Now, here’s the crucial part for creating our “bombs.” We need to flatten each biscuit slightly. You can do this by hand, gently pressing down on the center to create a flatter disc, or use a rolling pin if you prefer a more uniform shape. Aim for a disc that’s about 4-5 inches in diameter. The goal is to create a larger surface area to work with so you can enclose the cherry filling. Don’t worry if they aren’t perfectly round; rustic is charming!
Step 2: Filling the Biscuits
Now comes the star of the show: the cherry pie filling! Open your can of cherry pie filling. You want to spoon a generous dollop of the filling into the center of each flattened biscuit. Be careful not to overfill, as this can make it difficult to seal the dough properly and might cause leakage during frying. A good starting point is about 1 to 2 tablespoons of filling per biscuit, depending on the size of your flattened dough. Make sure to distribute some of the cherries and the syrupy sauce. Once you have the filling in place, it’s time to create the “bomb.” Gently bring the edges of the biscuit dough up and around the filling. Pinch the seams together very, very firmly. You want to create a completely senon-alcoholic aled pouch. Think of it like making a little dumpling. Press and seal every single edge. If any filling tries to escape, just tuck it back in and seal again. The tighter the seal, the less likely you are to have the filling ooze out during the frying process, which can make a mess and reduce the deliciousness inside.
Step 3: Frying the Cherry Pie Bombs
This is where the magic truly happens! We’re going to fry our cherry pie bombs until they’re golden brown and puffed up. You’ll need a deep pot or a Dutch oven for frying. Pour in enough vegetable oil to come about 2-3 inches up the sides of the pot. Heat the oil over medium heat to a temperature of around 350°F (175°C). A candy thermometer is very helpful here, but if you don’t have one, you can test the oil by dropping a tiny piece of biscuit dough into it. If it sizzles and floats to the top quickly, your oil is ready. Carefully, and I mean very carefully, lower 2-3 cherry pie bombs into the hot oil at a time. Do not overcrowd the pot; this will lower the oil temperature and result in greasy bombs rather than crispy ones. Fry for about 2-3 minutes per side, or until they are a deep golden brown and puffed. Use a slotted spoon or spider strainer to gently turn them over. Keep an eye on them, as they can brown quickly.
Step 4: Draining and Cooling
Once your cherry pie bombs are beautifully golden and perfectly fried, it’s time to remove them from the hot oil. Use your slotted spoon or spider strainer to lift them out. Place them on a wire rack set over a baking sheet or paper towels. This allows the excess oil to drain away, ensuring that your bombs are crispy and not greasy. Allowing them to cool slightly on the rack will also help them maintain their structure and prevent the glaze from melting off too quickly. You want them warm enough for the filling to be gooey, but not so hot that they’re difficult to handle for the next step.
Step 5: Making and Applying the Glaze
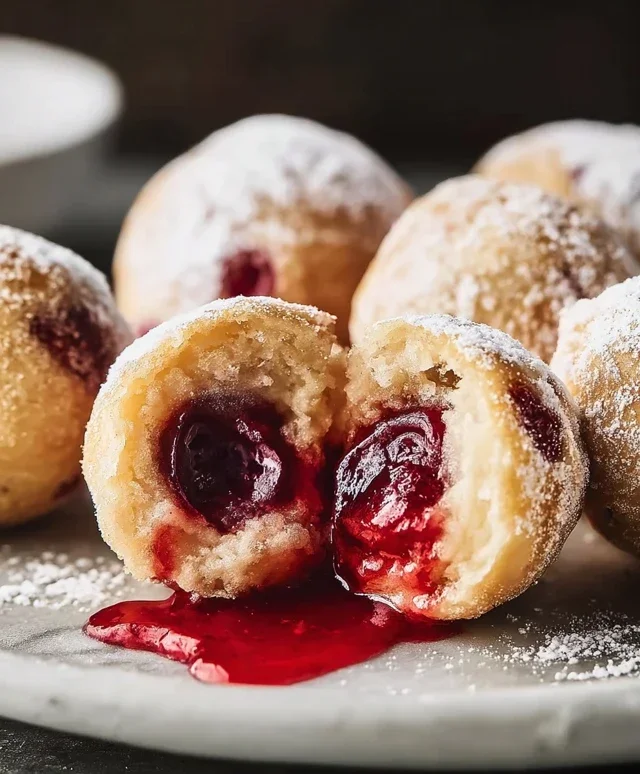
The final touch that elevates these Cherry Pie Bombs to dessert perfection is the simple yet delicious glaze. In a medium bowl, whisk together the powdered sugar, milk, and light corn syrup. Start with the ¼ cup of milk and add more, a teaspoon at a time, until you reach your desired drizzling consistency. The corn syrup adds a lovely sheen and helps the glaze set slightly. Once the glaze is smooth and has a nice pourable texture, you can drizzle it generously over the warm (but not piping hot) cherry pie bombs. You can use a spoon to drizzle it in zigzags or patterns. The warmth of the bombs will allow the glaze to spread and set beautifully. For an extra touch, you can even sprinkle a few decorative sprinkles on top before the glaze hardens. Serve these warm and enjoy the delightful explosion of cherry and flaky dough!
Conclusion:
And there you have it – your guide to creating these delightful Cherry Pie Bombs! I truly hope you’ll give this recipe a try. They are an absolute showstopper, offering all the comforting flavors of classic cherry pie in a perfectly portioned, utterly adorable bite. The flaky pastry, the sweet-tart cherry filling, and that irresistible glaze create a symphony of textures and tastes that are sure to impress. These little bombs are incredibly versatile, making them perfect for potlucks, holiday gatherings, or simply as a special treat for yourself. Imagin extracte them alongside a scoop of vanilla bean ice cream for the ultimate indulgence, or dusted with powdered sugar for a simpler, elegant presentation. Don’t be afraid to experiment with variations! Try using different berries, adding a pinch of almond extract to the filling, or even drizzling with white chocolate instead of the classic glaze. The possibilities are endless!
Frequently Asked Questions:
Can I make the cherry pie bomb filling ahead of time?
Absolutely! You can prepare the cherry pie bomb filling up to 2-3 days in advance and store it in an airtight container in the refrigerator. This will save you time on assembly day, making the whole process even smoother.
What’s the best way to store leftover cherry pie bombs?
Store any leftover cherry pie bombs in an airtight container at room temperature for up to 2 days, or in the refrigerator for up to 4 days. For best results, gently reheat them in a low oven or toaster oven before serving to revive their flaky crispness.
Can I use fresh cherries instead of canned?
Yes, you certainly can! If using fresh cherries, you’ll need to pit them and likely cook them down slightly longer to achieve a similar consistency to canned pie filling. Be prepared to adjust the sugar and thickener (like cornstarch) based on the tartness and juiciness of your fresh cherries.
Cherry Pie Bombs
Delicious fried biscuit bites filled with cherry pie filling and drizzled with a sweet glaze.
Ingredients
-
Vegetable oil, for frying
-
16.3 ounces Grands “Big” biscuits, flaky
-
21 ounces cherry pie filling
-
2 cups powdered sugar
-
¼ cup milk
-
1 tablespoon light corn syrup
Instructions
-
Step 1
Heat vegetable oil in a deep skillet or Dutch oven over medium-high heat to 350°F (175°C). -
Step 2
Open the Grands biscuits and separate them. Flatten each biscuit into a circle. -
Step 3
Place a spoonful of cherry pie filling in the center of each flattened biscuit. Fold the edges of the biscuit over the filling and pinch to seal, forming a ball. -
Step 4
Carefully fry the biscuit bombs in batches for 2-3 minutes per side, until golden brown and cooked through. -
Step 5
While the bombs are frying, whisk together powdered sugar, milk, and light corn syrup in a small bowl to create a glaze. -
Step 6
Remove fried bombs from the oil and place on a wire rack to drain excess oil. Once slightly cooled, drizzle with the glaze.
Important Information
Nutrition Facts (Per Serving)
It is important to consider this information as approximate and not to use it as definitive health advice.
Allergy Information
Please check ingredients for potential allergens and consult a health professional if in doubt.