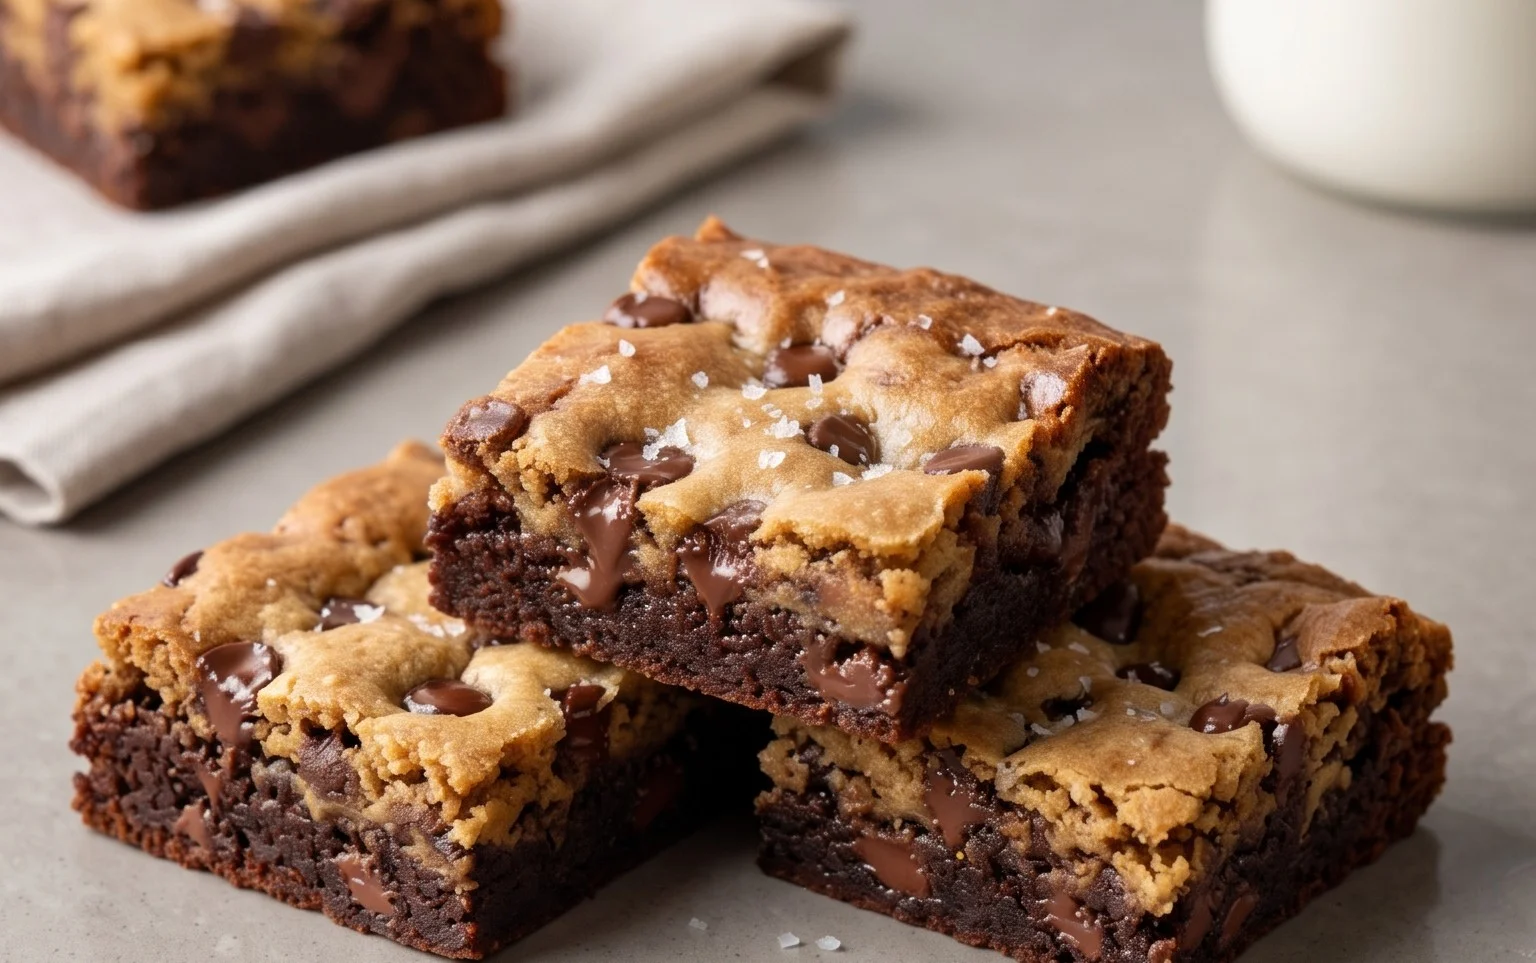
Brown Butter Brookies-Ultimate Dessert Delight
Brown Butter Brookies are the ultimate indulgence, a dessert that harmoniously marries two beloved classics into one glorious treat. If you’ve ever found yourself torn between the rich, fudgy depth of a brownie and the comforting chegrape juicess of a chocolate chip cookie, then this recipe is your delicious salvation. We all have a sweet spot for the classics, but what elevates these Brown Butter Brookies from mere dessert to an unforgettable experience is the magic of brown butter. Browning butter unlocks a nutty, toasty aroma and flavor that infuses every bite with an unparalleled complexity, making these brookies far more than just a mashup – they’re a culinary revelation. Prepare to fall head over heels for the irresistible charm and decadent taste of Brown Butter Brookies, a dessert that guarantees smiles and second helpings.
Brown Butter Brookies
Get ready to experience dessert nirvana! These Brown Butter Brookies are the ultimate mashup of fudgy brownies and chewy chocolate chip cookies, elevated to a whole new level by the nutty, rich depth of brown butter. If you’ve never made brown butter before, don’t be intimidated! It’s a simple technique that transforms regular butter into liquid gold, infusing your baked goods with an unparalleled toasty flavor. The result is a brookie that’s incredibly decadent, with layers of intense chocolate flavor and a perfect contrast in textures. I love making these for gatherings because they always disappear in a flash, and the impressed “oohs” and “aahs” are worth every bit of effort. Let’s dive in and create some magic!
Ingredients:
Brown Butter Brilliance: Getting Started
The first and perhaps most crucial step is creating that glorious brown butter. Take your 180g of butter for the brownie layer and place it in a light-colored saucepan over medium heat. You’ll want to watch this closely. As the butter melts, it will start to foam. Continue to swirl the pan occasionally. You’ll see tiny brown bits begin extract to form at the bottom of the pan, and the butter will start to take on a golden-brown hue and emit a wonderfully nutty aroma. This is what we’re after! Once it smells toasty and looks golden brown, immediately remove it from the heat and pour it into a heatproof bowl to stop the cooking process. Let it cool slightly, but don’t let it solidify. This brown butter is the secret weapon for an intensely flavorful brownie base.
Crafting the Fudgy Brownie Layer
In a medium heatproof bowl, combine your 320g of chopped chocolate and the slightly cooled brown butter. Gently melt them together. You can do this over a double boiler (a bowl set over a pot of simmering water, making sure the bottom of the bowl doesn’t touch the water) or in the microwave in 30-second intervals, stirring between each, until smooth and glossy. Once melted and smooth, stir in your 180g of granulated sugar and 80g of brown sugar until well combined. Next, whisk in your 4 eggs, one at a time, ensuring each egg is fully incorporated before adding the next. This will create a rich, emulsified base. In a separate bowl, whisk together 120g of all-purpose flour, 50g of cocoa powder, and 2g of salt. Gradually add the dry ingredients to the wet ingredients, folding gently until just combined. Be careful not to overmix, as this can lead to tough brownies. If you’re using chocolate chunks, gently fold them in now. Pour this luscious brownie batter into a parchment-lined 8×8 inch baking pan, spreading it evenly.
Whipping Up the Chewy Cookie Dough
Now, for the cookie portion! In a separate bowl, cream together 80g of softened butter with 80g of brown sugar and 40g of granulated sugar. You can use a hand mixer or a sturdy whisk for this. Beat until the mixture is light and fluffy. This process incorporates air, contributing to the chewy texture of the cookie layer. Next, beat in your single egg and 1g of salt until fully combined. In another small bowl, whisk together your 85g of all-purpose flour. Gradually add the flour to the butter mixture, mixing on low speed or by hand until just combined. Again, avoid overmixing the cookie dough. The goal is a soft, pliable dough that can be dolloped onto the brownie batter.
The Art of Layering and Baking
Here comes the fun part – creating the beautiful brookies! Dollop spoonfuls of the cookie dough over the brownie batter in the pan. Don’t worry about making it perfect or covering every single bit of the brownie layer. The cookie dough will spread as it bakes. Use a spatula or the back of a spoon to gently swirl the cookie dough into the brownie batter. This creates those iconic marbled swirls and ensures you get both textures in every bite. You can swirl gently, or get a bit more playful with it. Preheat your oven to 350°F (175°C). Bake for approximately 30-40 minutes, or until the edges of the brookies are set and a toothpick inserted into the center comes out with moist crum extractbs attached, but not wet batter. The baking time can vary depending on your oven, so keep an eye on them towards the end.
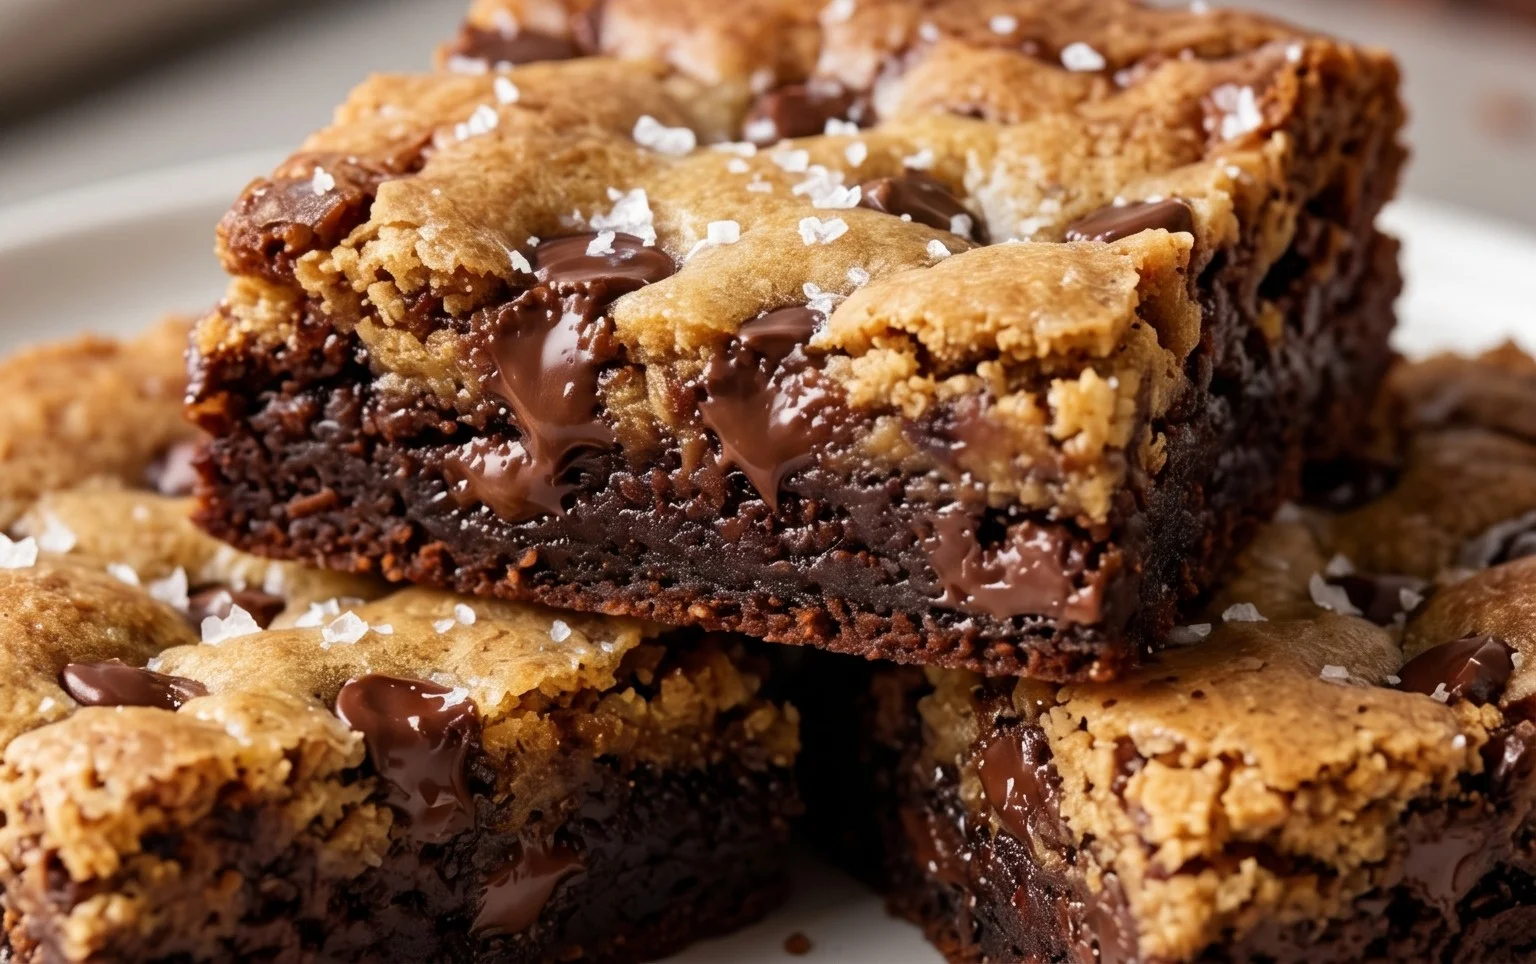
Cooling and Indulgin extractg
This is arguably the hardest part: waiting for them to cool! Once they’re out of the oven, resist the urge to cut into them immediately. Let them cool in the pan on a wire rack for at least 1-2 hours. This allows them to set up properly, making them much easier to slice and preventing them from falling apart. Once cooled, lift the entire slab out of the pan using the parchment paper. Then, slice them into squares. The smell alone will be torture, but trust me, the wait is worth it. For the ultimate indulgence, serve them warm with a scoop of vanilla ice cream. You can also store them in an airtight container at room temperature for up to 3 days. Enjoy every single fudgy, chewy, nutty bite of your homemade Brown Butter Brookies!
Conclusion:
And there you have it – the ultimate guide to crafting perfect Brown Butter Brookies! This recipe truly is a showstopper, offering that delightful interplay of a rich, chewy brownie base crowned with a buttery, crisp cookie topping. The secret, of course, is the nutty depth that brown butter brings to both layers, elevating this classic dessert to an extraordinary level. Whether you’re a seasoned baker or just starting out, these brookies are surprisingly approachable and undeniably rewarding. They’re perfect for potlucks, celebrations, or simply as an indulgent treat to brighten your day. I highly encourage you to give this Brown Butter Brookies recipe a try – you won’t regret it!
For serving suggestions, consider enjoying them warm from the oven with a scoop of vanilla ice cream for a truly decadent experience. They also pair wonderfully with a glass of cold milk or a hot cup of coffee. If you’re feeling adventurous with variations, try adding chocolate chips to the brownie layer, a swirl of caramel, or even a sprinkle of sea salt on top for an extra layer of flavor complexity.
Frequently Asked Questions:
Why is my brown butter not nutty?
Ensure you’re cooking the butter over medium-low heat and swirling the pan frequently. You’re looking for the milk solids to toast and turn a golden-brown color, not to burn. Keep a close eye on it, as it can go from perfectly browned to burnt very quickly!
Can I make these brookies ahead of time?
Absolutely! Brookies actually tend to taste even better the next day as the flavors meld. Store them in an airtight container at room temperature for up to 3 days. For longer storage, you can freeze them.
What kind of chocolate should I use?
For the best flavor and texture in your Brown Butter Brookies, I recommend using good quality semi-sweet or dark chocolate chips. You can also chop up a chocolate bar for a more artisanal feel. Experiment with milk chocolate if you prefer a sweeter treat!
Brown Butter Brookies
A decadent fusion of rich brownies and buttery chocolate chip cookies, elevated by the nutty depth of brown butter.
Ingredients
-
180 g butter
-
320 g chocolate (for melting)
-
120 g all purpose flour
-
50 g cocoa powder
-
180 g Granulated Sugar
-
80 g brown sugar
-
2 g salt
-
4 eggs
-
120 g chocolate chunks (optional)
-
85 g all-purpose flour
-
80 g butter
-
80 g brown sugar
-
40 g granulated sugar
-
1 g salt
-
1 egg
Instructions
-
Step 1
For the brownie layer: Melt 180g butter in a saucepan over medium heat until it turns a nutty brown. Remove from heat and stir in 320g melting chocolate until smooth. In a separate bowl, whisk together 180g granulated sugar, 80g brown sugar, 2g salt, and 4 eggs until well combined. Pour the chocolate mixture into the egg mixture and whisk until smooth. Fold in 120g all-purpose flour and 50g cocoa powder until just combined. -
Step 2
For the cookie layer: In a medium bowl, cream together 80g butter, 80g brown sugar, and 40g granulated sugar until light and fluffy. Beat in 1 egg and 1g salt until combined. Gradually mix in 85g all-purpose flour until just incorporated. Stir in 120g chocolate chunks (if using). -
Step 3
Preheat your oven to 350°F (175°C). Line a 9×13 inch baking pan with parchment paper, leaving an overhang on the sides. -
Step 4
Spread the brownie batter evenly into the prepared baking pan. -
Step 5
Dollop spoonfuls of the cookie dough evenly over the brownie batter. Gently spread the cookie dough to cover most of the brownie layer, allowing some of the brownie batter to peek through. -
Step 6
Bake for 30-35 minutes, or until a toothpick inserted into the center comes out with moist crumbs attached. Be careful not to overbake. -
Step 7
Let the brookies cool completely in the pan on a wire rack before cutting into squares.
Important Information
Nutrition Facts (Per Serving)
It is important to consider this information as approximate and not to use it as definitive health advice.
Allergy Information
Please check ingredients for potential allergens and consult a health professional if in doubt.