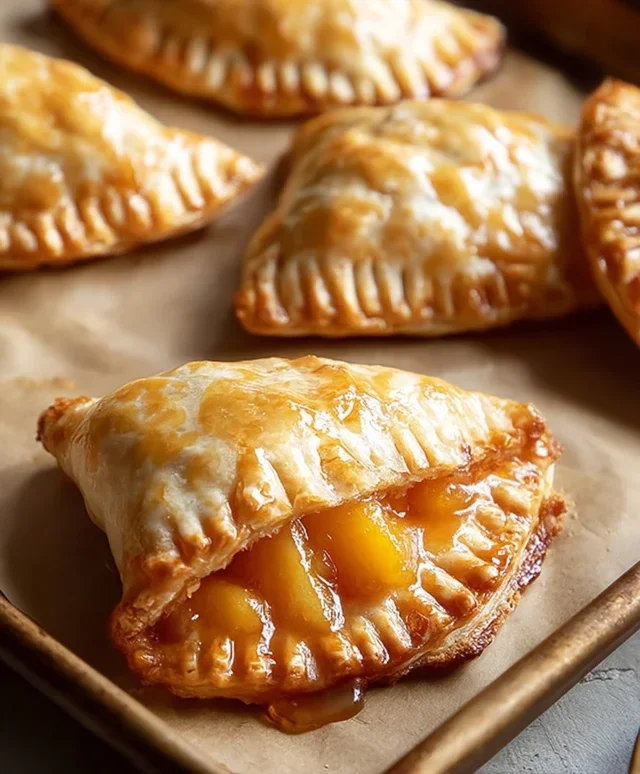
Easy Peach Hand Pies – Sweet Summer Dessert
Peach hand pies are the quintessential taste of summer, miniaturized into perfect, portable parcels of pure joy. There’s something undeniably magical about biting into a warm, flaky pastry crust, only to be greeted by a burst of sweet, juicy, sun-ripened peaches. We absolutely adore these delightful treats because they capture the essence of the season in every bite, offering a comforting and nostalgic flavor that’s hard to resist. What truly makes peach hand pies so special is their delightful duality: they’re sophisticated enough for a special occasion, yet wonderfully approachable for a casual afternoon snack. Whether you’re packing them for a picnic, enjoying them with your morning coffee, or serving them as a simple yet elegant dessert, these peach hand pies are guaranteed to bring smiles all around. Let’s dive into creating these little pockets of sunshine!

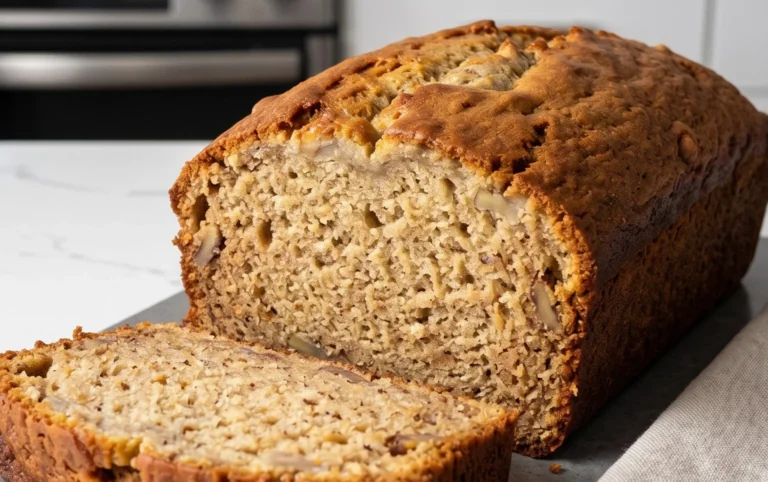
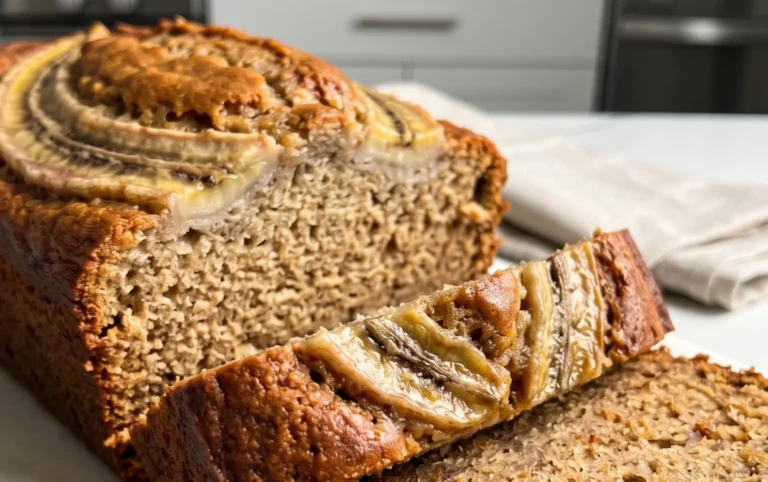
Peach Hand Pies
There’s something incredibly charming about a hand pie. It’s a portable pocket of pure deliciousness, and when filled with sweet, juicy peaches, it’s an absolute dream. These peach hand pies are surprisingly easy to make, especially when we leverage the convenience of canned pie filling. They’re perfect for a weekend treat, a potluck contribution, or even a special breakfast. The crispy, golden crust gives way to a warm, gooey peach filling that’s subtly sweet and comforting. And the simple glaze on top? It adds just the right touch of elegance and extra sweetness. Let’s get baking!
Ingredients:
Preparing the Dough and Filling
The beauty of this recipe lies in its simplicity. We’re starting with pre-made pie crust, which is a fantastic time-saver and ensures a flaky, tender result every time. Unroll your refrigerated pie crusts according to the package directions. You’ll want to work with them on a lightly floured surface. For hand pies, we’ll be cutting out circles from the crusts. A common size is about 4-5 inches in diameter. You can use a large biscuit cutter, a cookie cutter, or even the rim of a glass. Aim to get as many circles as possible from each crust.
Once you have your circles, it’s time to think about the filling. The 21 oz. can of peach pie filling is already perfectly sweetened and thickened, so there’s no need to add extra sugar or starch. However, to make it a little more manageable for filling the pies, I like to give it a gentle stir to ensure the peaches are evenly distributed in the sauce. If your peaches are in very large chunks, you can give them a light chop with your knife to make them a more bite-sized filling.
Assembling the Hand Pies
Now for the fun part: assembling these little parcels of joy! Take one of your prepared pie crust circles and place it on a clean, dry surface. Spoon about 2 tablespoons of the peach pie filling onto one half of the circle, leaving a border of about 1/2 inch all the way around. Be careful not to overfill, as this can make sealing the pies difficult and can lead to leaks during cooking. If you do get a little filling on the border, gently wipe it away with a paper towel.
To seal the hand pies, lightly brush the edges of the crust circle with a little water. This acts as a natural adhesive. Then, carefully fold the other half of the pie crust over the filling, creating a semi-circle. Gently press the edges together to seal. You can use your fingers to crimp the edges, or for a more decorative touch, you can use the tines of a fork to press down around the entire edge of the pie. This not only looks pretty but also ensures a secure seal, preventing any of that delicious filling from escaping during frying. If you have extra dough scraps, you can always re-roll them gently, but be careful not to overwork the dough, which can make it tough.
Cooking the Peach Hand Pies
We’re going to fry these beauties to achieve that irresistible golden-brown, crispy exterior. Heat about 1-2 inches of vegetable oil in a large, heavy-bottomed skillet or pot over medium heat. You’ll want the oil to reach a temperature of about 350°F (175°C). If you don’t have a thermometer, you can test the oil by dropping a tiny piece of pie crust into it. If it sizzles and floats to the surface immediately, the oil is ready.
Carefully place 2-3 hand pies into the hot oil, being careful not to overcrowd the pan. Overcrowding will lower the oil temperature and result in soggy pies. Fry the hand pies for about 2-3 minutes per side, or until they are a beautiful golden brown. Use a slotted spatula or tongs to gently flip them over to cook the other side evenly. Keep an eye on them, as they can brown quickly. Once they’re perfectly golden, remove them from the oil and place them on a wire rack set over a baking sheet. This allows any excess oil to drain off and keeps the bottoms from becoming soggy. Repeat this process with the remaining hand pies, ensuring the oil temperature remains consistent between batches.
Glazing the Hand Pies
This simple glaze adds a touch of sweetness and a lovely sheen to our peach hand pies. In a small bowl, whisk together the 1/2 cup of powdered sugar, 1 teaspoon of corn syrup, and 1 tablespoon of water. The corn syrup helps to make the glaze a little glossy and less likely to become chalky. Whisk until the mixture is smooth and lump-free. The consistency should be thick enough to coat the back of a spoon but thin enough to drizzle.
Once the hand pies have cooled slightly but are still warm, you can begin extract to glaze them. Drizzle the glaze generously over the tops of the hand pies, letting it drip down the sides. You can use a spoon or a piping bag for more precise application, but a simple drizzle is perfectly charming. Allow the glaze to set for a few minutes before serving. These are best enjoyed warm, when the filling is gooey and the crust is wonderfully crisp. You can also sprinkle a little extra powdered sugar over them if you like, for an extra touch of sweetness and visual appeal. Enjoy your delightful homemade peach hand pies!
Conclusion:
I truly hope you enjoyed learning how to make these delightful peach hand pies! They’re a fantastic treat for so many reasons. The flaky, buttery crust combined with the sweet, slightly tart burst of warm peach filling is simply irresistible. They’re perfect for a quick dessert, a charming addition to a picnic, or even a special breakfast treat. The beauty of these peach hand pies lies in their portability and their ability to evoke a sense of homemade comfort with every bite. I can’t wait for you to experience the joy of creating and devouring them.
Don’t be afraid to experiment with serving them warm with a scoop of vanilla ice cream or a drizzle of caramel sauce. For variations, consider adding a pinch of cinnamon or nutmeg to your peach filling for a warmer spice note, or even a splash of bourbon extract for a grown-up twist. You could also swap out some of the peaches for other summer fruits like blueberries or raspberries for a mixed berry hand pie. The possibilities are endless! So, go ahead and give these delicious peach hand pies a try – I promise you won’t be disappointed.
Frequently Asked Questions:
Can I make the pie dough ahead of time?
Absolutely! The pie dough can be made up to 2-3 days in advance and stored in the refrigerator. Just be sure to wrap it tightly in plastic wrap to prevent it from drying out. Let it come to room temperature for about 15-20 minutes before rolling it out for your peach hand pies.
What if I don’t have fresh peaches? Can I use frozen or canned?
Yes, you can! If using frozen peaches, thaw them completely and drain off any excess liquid before using them in the filling. For canned peaches, make sure they are packed in juice or light syrup and drain them very well before incorporating them. You might need to slightly adjust the sugar depending on the sweetness of your canned peaches.
Peach Hand Pies
Easy and delicious individual peach hand pies, perfect for a sweet treat.
Ingredients
-
21 oz. can peach pie filling
-
Refrigerated pie crust
-
1/2 cup powdered sugar
-
1 teaspoon corn syrup
-
1 tablespoon water
-
Vegetable oil for frying
Instructions
-
Step 1
Prepare the peach filling if necessary, ensuring it is not too watery. -
Step 2
Unroll the refrigerated pie crusts and cut them into desired shapes for hand pies (e.g., circles or squares). -
Step 3
Spoon a portion of the peach pie filling onto one half of each crust shape, leaving a border. -
Step 4
Fold the other half of the crust over the filling and crimp the edges with a fork to seal. -
Step 5
Heat vegetable oil in a skillet or deep fryer to approximately 350°F (175°C). -
Step 6
Carefully fry the hand pies for 2-3 minutes per side, or until golden brown and cooked through. Drain on paper towels. -
Step 7
While the pies are still warm, whisk together powdered sugar, corn syrup, and water to create a glaze. Drizzle over the hand pies.
Important Information
Nutrition Facts (Per Serving)
It is important to consider this information as approximate and not to use it as definitive health advice.
Allergy Information
Please check ingredients for potential allergens and consult a health professional if in doubt.