Nut-Free Pesto Recipe Delicious Allergy-Friendly
Nut Free Pesto is a revelation for so many of us! For years, the vibrant, herbaceous goodness of pesto felt like a forbidden pleasure due to nut allergies or simply a preference to keep our pantries nut-free. But the truth is, you don’t need pine nuts to achieve that iconic, garlicky, basil-forward flavor we all adore. This isn’t just a substitute; this nut free pesto stands proudly on its own, bursting with freshness and a delightful texture that will have everyone asking for the recipe. Imagin extracte slathering it on pasta, spreading it on crusty bread, or swirling it into dips – the possibilities are endless! What makes this version truly special is its accessibility, proving that delicious, classic flavors can be enjoyed by everyone, regardless of dietary restrictions. Get ready to transform your meals with this incredible, crowd-pleasing pesto.
Delicious Nut-Free Pesto: A Versatile Sauce for Every Occasion
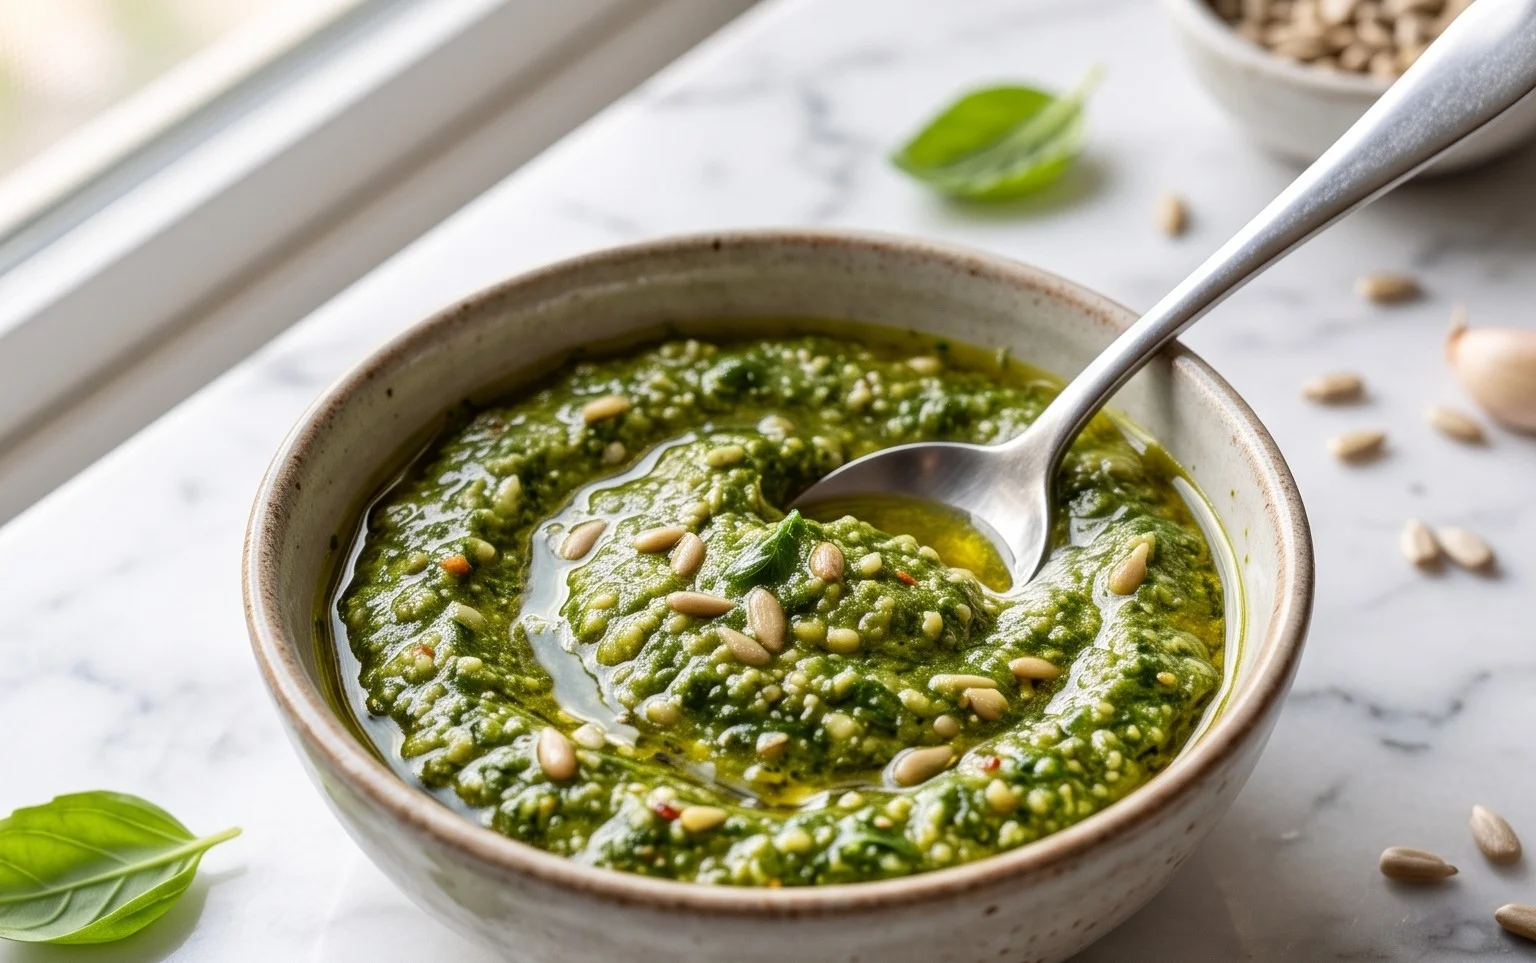
Pesto is a vibrant, flavorful sauce that can elevate countless dishes, from pasta and sandwiches to dips and marinades. Traditionally, pesto relies on pine nuts for its characteristic texture and richness. However, for those with nut allergies or simply looking for a delicious alternative, nut-free pesto is a fantastic option. This recipe delivers all the bright, herbaceous goodness of classic pesto without any nuts, making it a safe and delightful choice for everyone to enjoy. The beauty of this nut-free pesto lies in its simplicity and the fresh, aromatic ingredients that come together to create something truly special. It’s incredibly quick to make, meaning you can whip up a batch whenever the craving strikes!
Ingredients:
Preparing Your Ingredients for Perfection
Before we dive into the blending process, it’s crucial to ensure your ingredients are prepped for optimal flavor and texture. Start with your basil. For the best taste, use fresh, vibrant basil leaves. Gently rinse them under cool water and pat them completely dry with paper towels or a clean kitchen towel. Excess moisture can dilute the flavor and make your pesto watery. Remove the stems as they can be tough and fibrous, and we only want the tender leaves for a silky smooth pesto. Next, your garlic. Peeling garlic cloves is straightforward. You can smash them gently with the flat side of a knife, which helps loosen the skin, or simply peel them by hand. For a milder garlic flavor, you can even blanch the garlic cloves in boiling water for about 30 seconds before using them, then drain and pat dry. Grating your Parmesan cheese fresh is highly recommended. Pre-shredded cheeses often contain anti-caking agents that can affect the texture of your pesto, and freshly grated cheese offers a superior, more intense flavor.
Crafting Your Nut-Free Pesto
Now comes the fun part: transforming these simple ingredients into a delicious sauce. You have a couple of options for making your pesto, depending on your kitchen equipment. A food processor is the most common and efficient tool for making pesto. Alternatively, you can use a blender or even a mortar and pestle for a more traditional, hands-on approach. Regardless of the method you choose, the goal is to create a smooth, emulsified sauce that’s packed with flavor.
Here’s how to bring it all together:
Step 1: The Aromatic Foundation
Begin extract by adding the fresh basil leaves and the peeled garlic cloves to your food processor bowl. If you’re using a blender, add them to the blender jar. Pulse the mixture a few times until the basil leaves are roughly chopped and the garlic is broken down into smaller pieces. You’re not aiming for a paste yet, just getting these aromatic ingredients acquainted. This initial pulse helps to break down the basil and garlic, making it easier for the other ingredients to incorporate evenly.
Step 2: Introducing the Cheesy Goodness and Seasoning
Next, add the freshly grated Parmesan cheese to the food processor or blender. Also, sprinkle in the salt and pepper at this stage. It’s important to add the salt now so it can be evenly distributed throughout the pesto as it blends. You can always adjust the saltiness to your preference after the pesto is made, but it’s good to start with the suggested amount. Pulse the ingredients again until the cheese is well combined with the basil and garlic. You’ll start to see the mixture taking on a beautiful green hue.
Step 3: Emulsifying with Olive Oil
Now, it’s time to add the olive oil. With the food processor running on a low speed, slowly drizzle the olive oil through the feed tube. If you’re using a blender, you can do the same through the lid opening. Continue to process until the pesto is smooth and emulsified. This gradual addition of olive oil is key to achieving a creamy, luscious texture. You want the oil to bind everything together, creating a cohesive sauce rather than a watery or oily one. The pesto should start to thicken and become a vibrant, glossy green. Stop processing once you reach your desired consistency. Some people prefer a slightly chunkier pesto, while others like it ultra-smooth.
Step 4: Tasting and Adjusting
Once your pesto is blended, it’s essential to taste it and make any necessary adjustments. Carefully spoon a small amount onto a spoon and taste it. Does it need more salt? A pinch more pepper? Perhaps a touch more garlic for an extra punch? This is your opportunity to fine-tune the flavor to your exact liking. Remember that the flavors will meld and intensify slightly as the pesto sits, so don’t over-season it initially. Add any additional seasonings sparingly and pulse briefly to incorporate.
Step 5: Storage and Enjoyment
Your nut-free pesto is now ready to be enjoyed! For immediate use, you can toss it with your favorite pasta, spread it on a sandwich, or use it as a dip for vegetables. If you’re not using it right away, it can be stored in an airtight container in the refrigerator for up to a week. To maximize its shelf life and preserve its vibrant color, pour a thin layer of olive oil over the surface of the pesto before sealing the container. This acts as a protective barrier against oxidation. You can also freeze pesto in ice cube trays for smaller, pre-portioned servings. Once frozen, transfer the pesto cubes to a freezer-safe bag. This is a fantastic way to have homemade pesto on hand whenever you need it. Enjoy this versatile and delicious nut-free pesto in all your culinary creations!
Conclusion:
I truly hope you enjoyed learning how to make this delicious nut-free pesto! It’s a fantastic recipe because it caters to those with nut allergies while still delivering that vibrant, herbaceous, and garlicky flavor we all love in traditional pesto. The beauty of this nut-free pesto lies in its versatility and its ability to bring a burst of freshness to so many dishes without any of the common allergens. Whether you’re making it for yourself, a friend with allergies, or just looking for a healthier twist, I’m confident you’ll find it incredibly satisfying and easy to whip up.
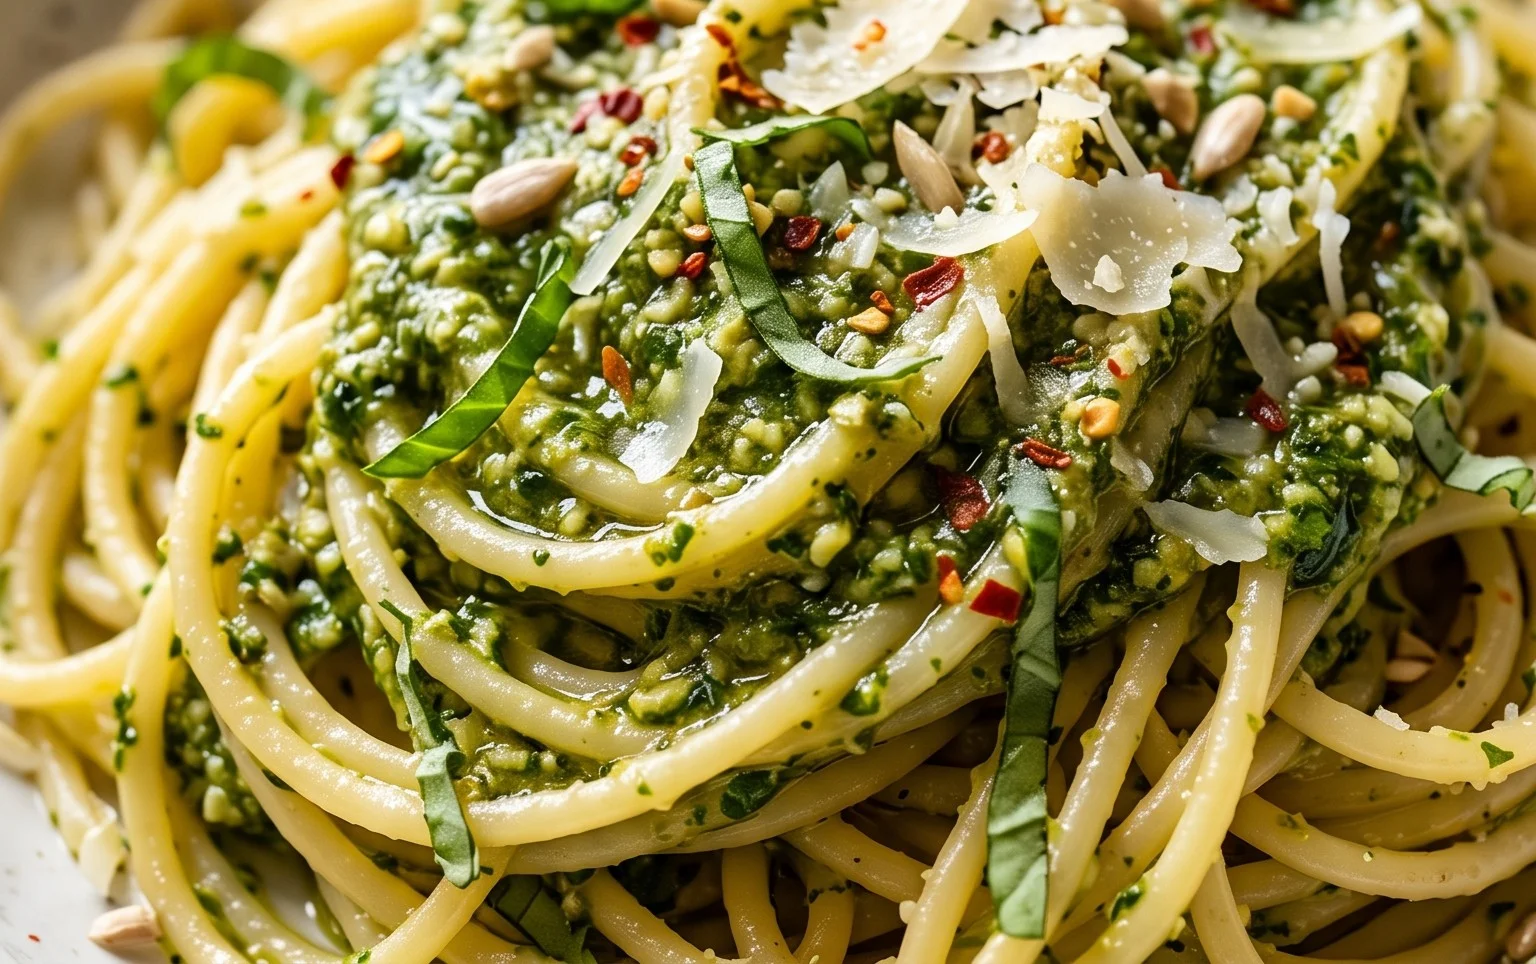
Don’t be afraid to experiment! This nut-free pesto is wonderful tossed with pasta, spread on sandwiches or wraps, dolloped onto grilled chicken or fish, or even mixed into a salad dressing. Feel free to adjust the garlic, basil, and lemon juice to your personal preference. I encourage you to give this recipe a try – you might just find it becomes your new go-to sauce!
Frequently Asked Questions:
Can I freeze this nut-free pesto?
Absolutely! This nut-free pesto freezes beautifully. You can portion it into ice cube trays for convenient single servings, or freeze it in a small airtight container. For best results, top the frozen pesto with a thin layer of olive oil before sealing to prevent oxidation.
What can I use instead of pine nuts if I want a different texture or flavor?
While this recipe intentionally omits nuts, if you wanted to experiment with other seeds for a similar texture, sunflower seeds or pepitas (pumpkin seeds) are excellent alternatives that still keep it nut-free. You could also try adding a tablespoon of nutritional yeast for a cheesy, umami flavor boost.
How long does this pesto last in the refrigerator?
When stored properly in an airtight container with a thin layer of olive oil on top, this nut-free pesto should last for about 5 to 7 days in the refrigerator. The olive oil layer helps to protect it from air exposure, which can cause it to brown.
Nut-Free Pesto
A classic pesto recipe made without nuts, perfect for those with allergies or for a lighter flavor.
Ingredients
-
2 cups fresh basil
-
2 garlic cloves
-
1/2 cup freshly grated Parmesan cheese
-
1/4 cup olive oil
-
1/4 teaspoon salt
-
1/8 teaspoon pepper
Instructions
-
Step 1
Combine basil and garlic in a food processor or blender. -
Step 2
Pulse until finely chopped. -
Step 3
Add Parmesan cheese, salt, and pepper. Pulse to combine. -
Step 4
With the food processor running, slowly drizzle in the olive oil until the pesto is smooth and well combined. -
Step 5
Taste and adjust seasoning if needed. -
Step 6
Transfer to a sealed container and store in the refrigerator or freeze for later use.
Important Information
Nutrition Facts (Per Serving)
It is important to consider this information as approximate and not to use it as definitive health advice.
Allergy Information
Please check ingredients for potential allergens and consult a health professional if in doubt.