Easy Homemade Fruit Leather Recipe- Healthy Snack
Homemade fruit leather is a delightful treat that brings back cherished childhood memories for so many of us. Imagin extracte those vibrant, chewy strips of pure fruity goodness, a far cry from the artificial flavors and excessive sugars often found in store-bought versions. This homemade fruit leather recipe allows you to capture that nostalgic magic with fresh, wholesome ingredients right in your own kitchen. It’s incredibly satisfying to create something so delicious from scratch, knowing exactly what goes into it. The beauty of fruit leather lies in its simplicity and versatility; you can experiment with a rainbow of fruits, creating unique flavor combinations that will tantalize your taste buds. Plus, it’s a fantastic way to use up seasonal produce and provide a healthy, fun snack for the whole family. Get ready to embark on a fruity adventure!
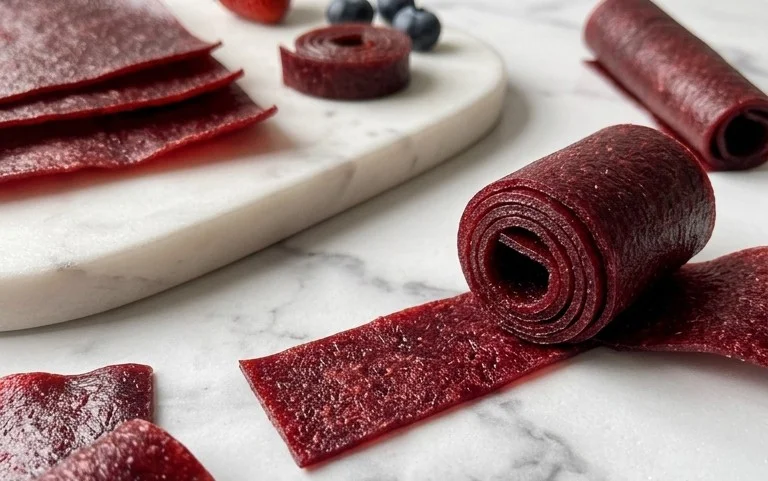
Homemade Fruit Leather Recipe
There’s something incredibly satisfying about making your own fruit leather. It’s a fantastic way to preserve fresh fruit, especially when it’s in season and abundant. Plus, the taste is so much more vibrant and natural than anything store-bought. It’s a healthier alternative to candy, and a delightful treat for both kids and adults. I love making batches of this to keep on hand for snacks, school lunches, or even as a creative ingredient in desserts. The process is surprisingly simple, requiring just a few key ingredients and a bit of patience. Let’s dive in and create some delicious, chewy fruit leather!
Ingredients:
Preparing the Fruit
Before we can transform our fruit into delicious leather, we need to prepare it properly. The type of fruit you choose will influence the flavor and texture of your final product. Berries tend to be a bit more tart and can create a vibrant red or purple leather. Stone fruits like peaches and apricots offer a sweeter, more mellow flavor. Tropical fruits like mangoes and pineapples bring a unique tang and aroma. Whichever fruit you select, make sure it’s ripe. Overripe fruit will be softer and easier to blend, and its sweetness will be more concentrated, meaning you might need less added sugar.
Chop your fruit into manageable pieces. If you’re using large fruits like peaches or mangoes, remove the pit and skin before chopping. For berries, a quick rinse is usually all that’s needed. The goal is to have pieces that will blend easily into a smooth puree.
Cooking the Fruit Mixture
This is where we start to concentrate the flavors and break down the fruit.
Cooling and Storing Your Fruit Leather
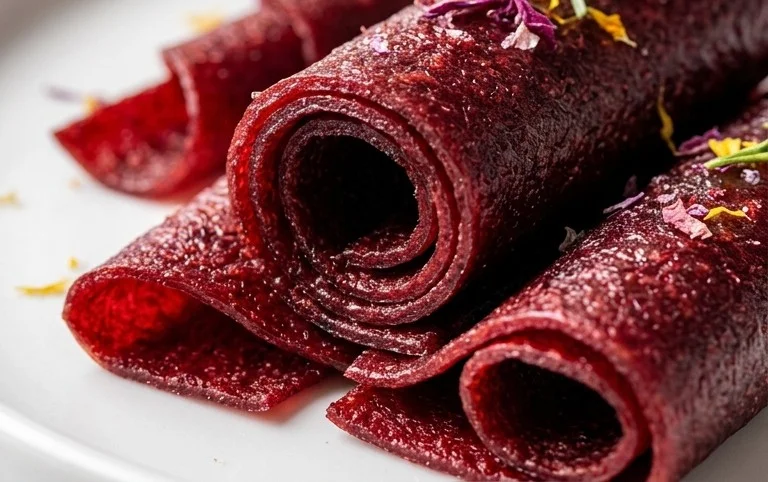
Once your fruit leather has reached the perfect texture, carefully remove the baking sheet from the oven. Let the fruit leather cool completely on the baking sheet. This is important because it will firm up further as it cools. Once fully cooled, you can carefully peel the fruit leather off the parchment paper. Cut it into desired shapes – strips are classic, but you can also cut it into squares or fun shapes with cookie cutters. Roll the strips or squares into individual portions. You can wrap them in wax paper or parchment paper for individual servings. Store your homemade fruit leather in an airtight container at room temperature for a few days, or in the refrigerator for longer storage. It should keep well for up to a couple of weeks if stored properly. Enjoy your delicious, homemade fruit creation!
Conclusion:
Making your own homemade fruit leather is a truly rewarding experience, offering a healthier and more customizable alternative to store-bought versions. It’s wonderfully simple, requiring minimal ingredients and allowing you to harness the vibrant, natural sweetness of your favorite fruits. The process is almost as enjoyable as the final product, filling your kitchen with delightful aromas as it bakes. This recipe is a fantastic way to preserve seasonal produce, reduce food waste, and create a delicious, chewy treat that’s perfect for lunchboxes, after-school snacks, or even a guilt-free dessert.
We love serving fruit leather cut into strips for easy snacking, but you can also get creative! Try rolling it up with a little cream cheese or yogurt for an extra special treat. Don’t hesitate to experiment with different fruit combinations – think strawberry-rhubarb, mango-lime, or even a spicy peach-chili blend! The possibilities are truly endless. We wholeheartedly encourage you to give this homemade fruit leather recipe a try. You’ll be amazed at how easy and satisfying it is to create your own vibrant, chewy goodness.
Frequently Asked Questions:
How long does homemade fruit leather last?
Properly stored in an airtight container at room temperature, your homemade fruit leather can last for about 1 to 2 weeks. For longer storage, you can keep it in the refrigerator for up to a month, or even freeze it for several months. Ensure it’s completely cooled before storing to prevent moisture buildup.
Can I make fruit leather without a dehydrator?
Absolutely! This recipe is specifically designed for oven baking, making it accessible for everyone. You’ll just need to keep a close eye on it and adjust the temperature and baking time as needed to achieve the perfect chewy consistency without burning.
What kind of fruit works best for fruit leather?
Most fruits work well! Berries, stone fruits like peaches and apricots, apples, pears, and tropical fruits like mango and pineapple are all excellent choices. Combining fruits can create wonderful flavor profiles. Just be mindful of water content; fruits with higher water content might require a slightly longer drying time.
Homemade Fruit Leather
A simple and delicious recipe for homemade fruit leather using fresh fruit, sugar, and lemon juice.
Ingredients
-
2 cups fruit, chopped
-
3 tbsp white sugar
-
½ whole lemon, just the juice
-
1 tsp vanilla extract
-
¼ tsp cinnamon
-
1 pinch salt
Instructions
-
Step 1
Puree the chopped fruit in a blender or food processor until smooth. -
Step 2
Add white sugar, lemon juice, vanilla extract, cinnamon, and salt to the fruit puree. Blend again until well combined. -
Step 3
Pour the mixture onto a baking sheet lined with parchment paper or a silicone baking mat, spreading it evenly into a thin layer. -
Step 4
Bake in a preheated oven at 170°F (77°C) for 4-6 hours, or until the fruit leather is no longer sticky to the touch. -
Step 5
Let the fruit leather cool completely on the baking sheet. -
Step 6
Once cooled, peel the fruit leather off the parchment paper and cut into desired strips.
Important Information
Nutrition Facts (Per Serving)
It is important to consider this information as approximate and not to use it as definitive health advice.
Allergy Information
Please check ingredients for potential allergens and consult a health professional if in doubt.