Masoor Dal Chilla – Easy Savory Red Lentil Pancakes
Masoor Dal Chilla is more than just a simple meal; it’s a vibrant tapestry of flavors and textures that has captured hearts and stomachs across generations. If you’re searching for a dish that’s both incredibly healthy and wonderfully delicious, you’ve landed in the right place. These savory red lentil pancakes are a revelation, offering a delightful alternative to traditional breakfast or snack options. What makes Masoor Dal Chilla so beloved? It’s their incredibly satisfying, slightly earthy flavor profile, derived from the humble red lentil, that pairs perfectly with a medley of spices. They’re wonderfully light yet filling, making them an ideal choice for a quick weeknight dinner or a wholesome brunch. The beauty of this Masoor Dal Chilla recipe lies in its simplicity and versatility; you can customize the spices and toppings to your heart’s content, creating a dish that’s uniquely yours. Get ready to whip up a batch that will have everyone asking for seconds!
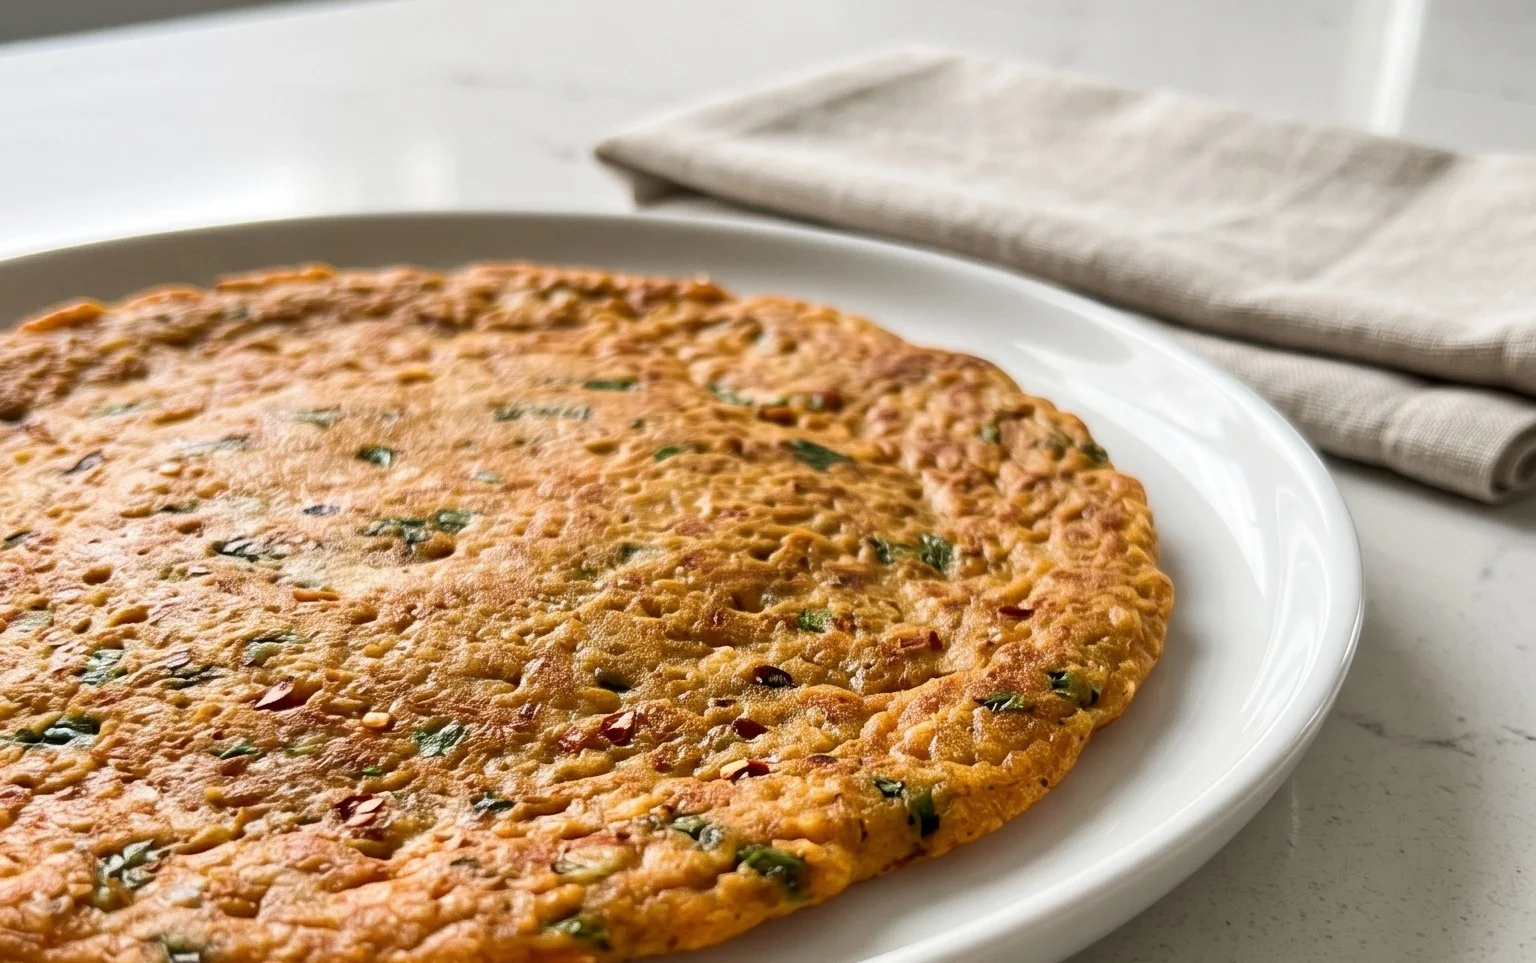
Masoor Dal Chilla | Savory Red Lentil Pancakes
These Masoor Dal Chillas are a revelation! If you’re looking for a healthy, flavorful, and incredibly satisfying breakfast, brunch, or even a light dinner option, you’ve come to the right place. Forget boring, bland pancakes; these savory red lentil delights are packed with protein and can be customized to your heart’s content. They’re naturally gluten-free and wonderfully easy to whip up, making them a weeknight savior. I love them because they feel so wholesome and energizing, and the subtle spiciness from the chili and gin extractger is just perfection.
Ingredients:
Cooking Instructions
The beauty of these chillas lies in their simplicity. The base is just the humble masoor dal, which transforms into a delicious, pliable batter with a few pantry staples. Here’s how we’ll bring them to life:
1. Soaking the Lentils: The Foundation of Flavor
The first crucial step is to properly prepare our masoor dal. Rinse the 1 cup of split red lentils thoroughly under cold running water. You want to wash them until the water runs clear. This removes any dust or impurities. Once rinsed, place the lentils in a bowl and pour over 3 cups of fresh water. Let them soak for at least 4 to 6 hours. If you’re short on time, you can soak them for a shorter period, but the longer soak will result in a smoother batter and more tender chillas. Overnight soaking is ideal for the best texture. This soaking process not only softens the lentils but also helps to reduce their phytic acid content, making them easier to digest and absorb nutrients.
2. Preparing the Flavor Base: Spice and Zing
While the lentils are soaking, let’s prepare the aromatics that will give our chillas their signature kick. Take your 1 green chilli and finely chop it. You can adjust the amount of green chilli based on your spice preference. If you like it mild, use half a chilli or remove the seeds. For a spicier chilla, use a whole one or even add a pinch of red chili flakes to the batter later. Next, peel and roughly chop the 1 inch of gin extractger. Again, adjust the gin extractger to your liking – a little goes a long way in adding warmth and zest.
3. Grinding the Batter: Creating the Perfect Consistency
Once the lentils have soaked sufficiently, drain them completely, discarding the soaking water. Transfer the soaked lentils to a blender or food processor. Add the chopped green chilli and gin extractger to the blender. Now, pour in ½ cup of water. This water is crucial for grinding. Start blending, and you’ll want to achieve a smooth, pouring consistency, similar to that of pancake batter or dosa batter. You might need to scrape down the sides of the blender a few times to ensure everything is incorporated. If the batter seems too thick, you can add a tablespoon or two more water, but be careful not to make it too thin. The goal is a batter that’s pourable but still has some body to it. Add the 1 teaspoon of kosher salt to the batter and give it a final blend to ensure the salt is evenly distributed.
4. Resting and Enhancing the Batter: Flavor Development
After grinding, transfer the batter to a mixing bowl. Stir in the 2 tablespoons of finely chopped cilantro. The cilantro adds a fresh, herbaceous note that complements the earthy flavor of the lentils beautifully. At this stage, you can cover the bowl and let the batter rest for about 15-30 minutes. This resting period allows the flavors to meld together and also helps the batter thicken slightly, contributing to a better texture when cooking. Some people even ferment their dal batter overnight for a more tangy flavor, but for a quick and easy chilla, a short rest is perfect.
5. Cooking the Chillas: Golden Perfection
Now for the exciting part – cooking our chillas! Heat a non-stick skillet or a well-seasoned cast-iron griddle over medium heat. Once the pan is hot, add about ½ tablespoon of oil and swirl it around to coat the surface. Pour a ladleful of the lentil batter onto the hot skillet, spreading it evenly with the back of the ladle to form a round pancake, about 6-8 inches in diameter. You don’t need to spread it too thin; a medium thickness works best.
Cook for about 2-3 minutes on the first side, or until you see small bubbles forming on the surface and the edges start to look set and slightly golden. Carefully flip the chilla using a spatula. Drizzle a little more oil around the edges of the chilla, about ½ teaspoon. Cook for another 2-3 minutes on the second side, or until it’s golden brown and cooked through. The chilla should be firm and have a slightly crispy exterior.
Repeat this process with the remaining batter, adding a little oil to the pan for each chilla. You’ll get approximately 4-5 chillas from this batter.
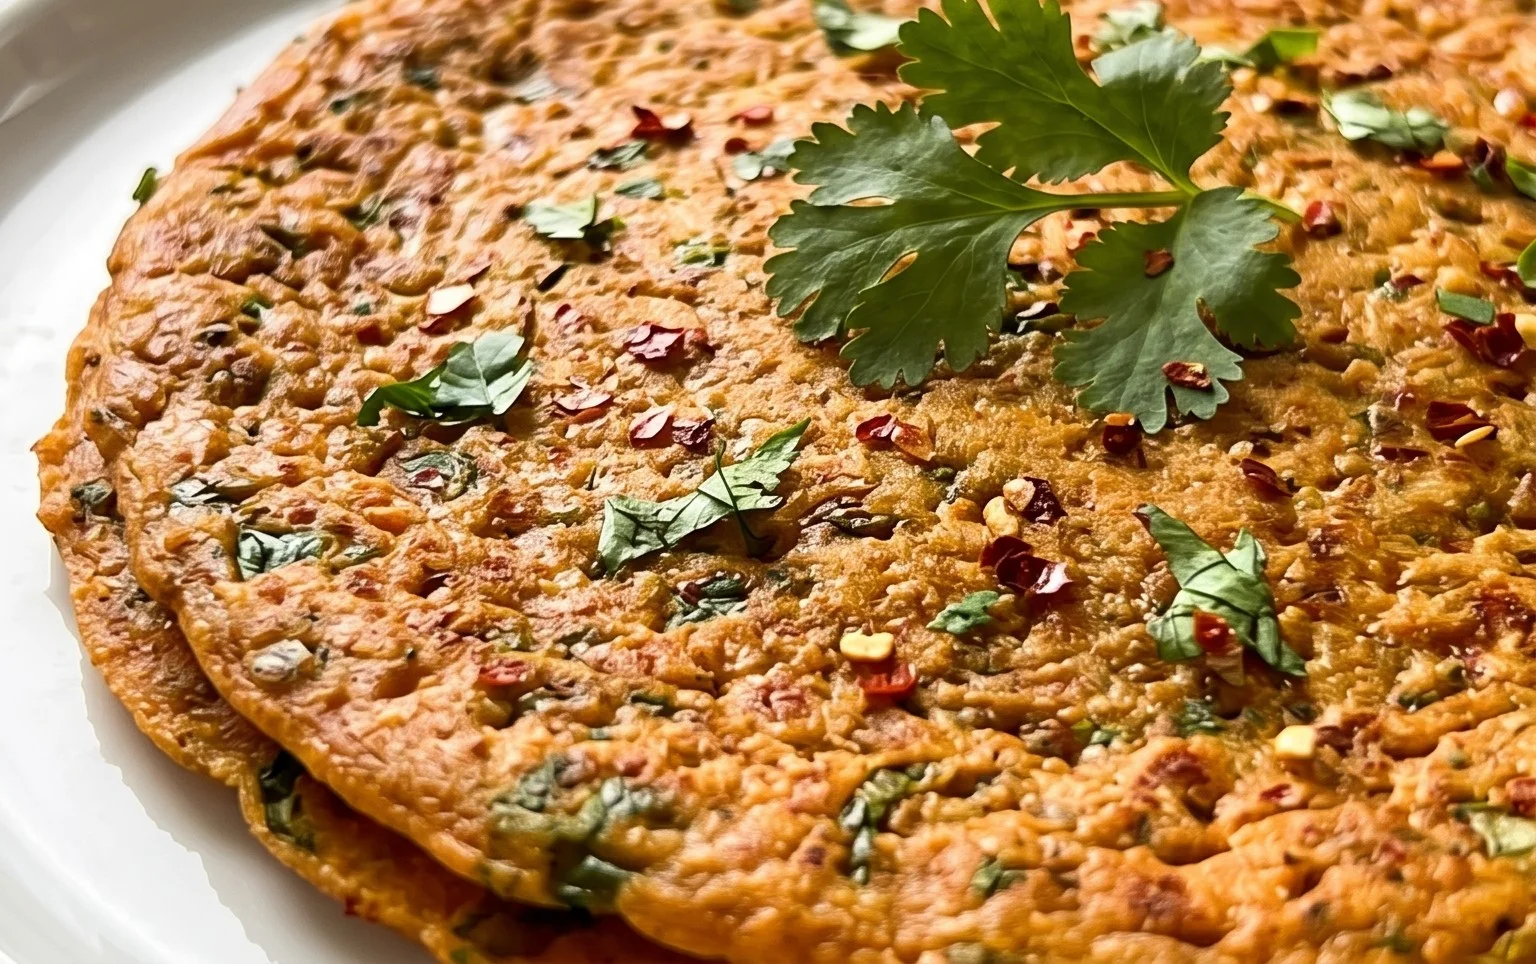
Serve these delicious Masoor Dal Chillas hot off the griddle. They are fantastic on their own, but I love pairing them with a dollop of plain yogurt, a side of spicy mango pickle, or even a fresh mint-coriander chutney. For a heartier meal, you can stuff them with some sautéed vegetables or paneer. Enjoy these wholesome and flavorful pancakes!
Conclusion:
And there you have it – a simple yet incredibly satisfying recipe for Masoor Dal Chilla, or Savory Red Lentil Pancakes! I hope you’ve enjoyed learning how to create these nutritious and delicious discs. They truly are a fantastic option for a healthy breakfast, a light lunch, or even a quick snack. The beauty of these Masoor Dal Chilla lies in their simplicity, protein-rich nature thanks to the red lentils, and their versatility. They are naturally gluten-free and can be easily adapted to suit your taste preferences.
For serving, I love pairing them with a dollop of cool yogurt or a spicy mint chutney. A side of fresh salad or some sautéed vegetables also makes for a complete and wholesome meal. Don’t be afraid to experiment with variations! You can add finely chopped onions, tomatoes, green chilies, or even grated carrots and spinach directly into the batter for added flavor and texture. Some people also like to sprinkle a little cumin or coriander powder for an extra aromatic touch.
I wholeheartedly encourage you to give this Masoor Dal Chilla recipe a try. It’s a rewarding cooking experience, and the outcome is a dish that nourishes your body and delights your palate. I’m confident you’ll find them as addictive as I do!
Frequently Asked Questions:
Can I make the batter ahead of time?
Yes, you absolutely can! The batter for Masoor Dal Chilla can be made a day in advance and stored in an airtight container in the refrigerator. This makes it super convenient for busy mornings. Just give it a good stir before using, and you might need to add a splash of water if it seems too thick.
What if I don’t have red lentils (masoor dal)?
While masoor dal is ideal for its quick cooking and creamy texture, you can experiment with other split lentils like yellow moong dal. However, keep in mind that the cooking time and final consistency might vary slightly. You may need to soak other dals for a bit longer.
How do I ensure my chilla don’t stick to the pan?
Ensuring your Masoor Dal Chilla don’t stick is key. Make sure your pan is well-heated before you pour the batter. Use a good non-stick pan or a well-seasoned cast-iron skillet. A light brushing of oil or ghee on the pan before each chilla, and making sure the heat is at a medium level, will prevent sticking and give you beautifully golden-brown pancakes.
Masoor Dal Chilla | Savory Red Lentil Pancakes
A quick and healthy savory pancake made from red lentils, spiced with ginger and green chili. Perfect for breakfast or a light meal.
Ingredients
-
1 cup split red lentils (masoor dal )
-
3 cups water (for soaking lentils )
-
1 green chilli
-
1 inch ginger
-
1 teaspoon kosher salt
-
½ cup water (for grinding )
-
2 tablespoons cilantro (finely chopped)
-
2 tablespoons oil
Instructions
-
Step 1
Rinse the masoor dal thoroughly and soak it in 3 cups of water for at least 4-6 hours, or overnight. -
Step 2
Drain the soaked lentils completely. -
Step 3
In a blender or food processor, combine the drained lentils, green chili, ginger, kosher salt, and ½ cup of water. Grind into a smooth batter, adding a little more water if needed to achieve a dosa-like consistency. -
Step 4
Stir in the finely chopped cilantro. -
Step 5
Heat 1 tablespoon of oil in a non-stick skillet or tawa over medium heat. -
Step 6
Pour a ladleful of batter onto the hot skillet and spread it evenly in a circular motion to form a thin pancake. -
Step 7
Cook for 2-3 minutes until the edges start to lift and the underside is golden brown. Flip and cook the other side for another 1-2 minutes. -
Step 8
Repeat with the remaining batter, adding oil to the skillet as needed.
Important Information
Nutrition Facts (Per Serving)
It is important to consider this information as approximate and not to use it as definitive health advice.
Allergy Information
Please check ingredients for potential allergens and consult a health professional if in doubt.