Easy No Yeast Pizza Dough – Quick Homemade Pizza
An excellent No Yeast Pizza Dough is your secret weapon for achieving authentic, delicious homemade pizza nights without the fuss! Are you craving that perfect, chewy crust that cradles all your favorite toppings, but the idea of yeast activation and long proofing times feels like a barrier? You’re not alone! Many of us adore homemade pizza for its customizable nature and the sheer joy of creating something delicious from scratch. What makes this no yeast pizza dough truly special is its incredible speed and simplicity. In less time than it takes to order takeout, you can have a fantastic pizza base ready to go, proving that truly excellent pizza doesn’t require hours of waiting. This recipe is designed to be your go-to for those spontaneous pizza cravings, making pizza night a regular, delightful occurrence in your kitchen.
An Excellent No Yeast Pizza Dough – Quick Easy Homemade Pizza!
There’s something incredibly satisfying about making pizza from scratch. The aroma filling your kitchen, the fun of shaping the dough, and the joy of biting into a hot, cheesy slice. But let’s be honest, the traditional yeast-leavened dough can be a bit intimidating and time-consuming, especially when that pizza craving hits fast. Fear not, fellow pizza lovers! I’ve got a fantastic no-yeast pizza dough recipe that is genuinely quick, incredibly easy, and delivers a surprisingly delicious pizza base. This is my go-to when I need a homemade pizza fix without the long wait. It’s perfect for weeknight dinners, impromptu gatherings, or simply when you want to whip up something special with minimal fuss. This recipe is designed for speed and simplicity, making it accessible for even the most novice bakers. The result is a pizza crust that’s wonderfully tender on the inside with a satisfying chew, and it crisps up beautifully in the oven. Let’s get started on creating your best homemade pizza yet!
Ingredients:
Instructions:
Preparing the Dough:
Shaping and Baking Your Pizza:
- At this point, you can either use the dough immediately or let it rest briefly, which can make it even easier to shape. If you have a few extra minutes, cover the dough ball with a clean kitchen towel and let it rest for about 10 minutes. This allows the gluten to relax, making it more pliable and less likely to spring back when you’re stretching it. Once rested (or if you’re in a hurry!), it’s time to shape your pizza. I usually preheat my oven and pizza stone (if using) at this stage to a high temperature, around 450-475°F (230-245°C). This high heat is crucial for a crispy crust. I then gently press the dough out from the center using my fingertips on a lightly floured surface or directly on parchment paper. I aim for a circular shape, working my way outwards. You can also use a rolling pin if you prefer a more uniform thickness, but I find hand-stretching gives it a nice rustic feel. Try to get the thickness to your preference; I usually aim for about 1/4 inch, but you can make it thinner for a crispier base or a bit thicker for a chewier one. If the dough resists stretching, let it rest for another minute or two.
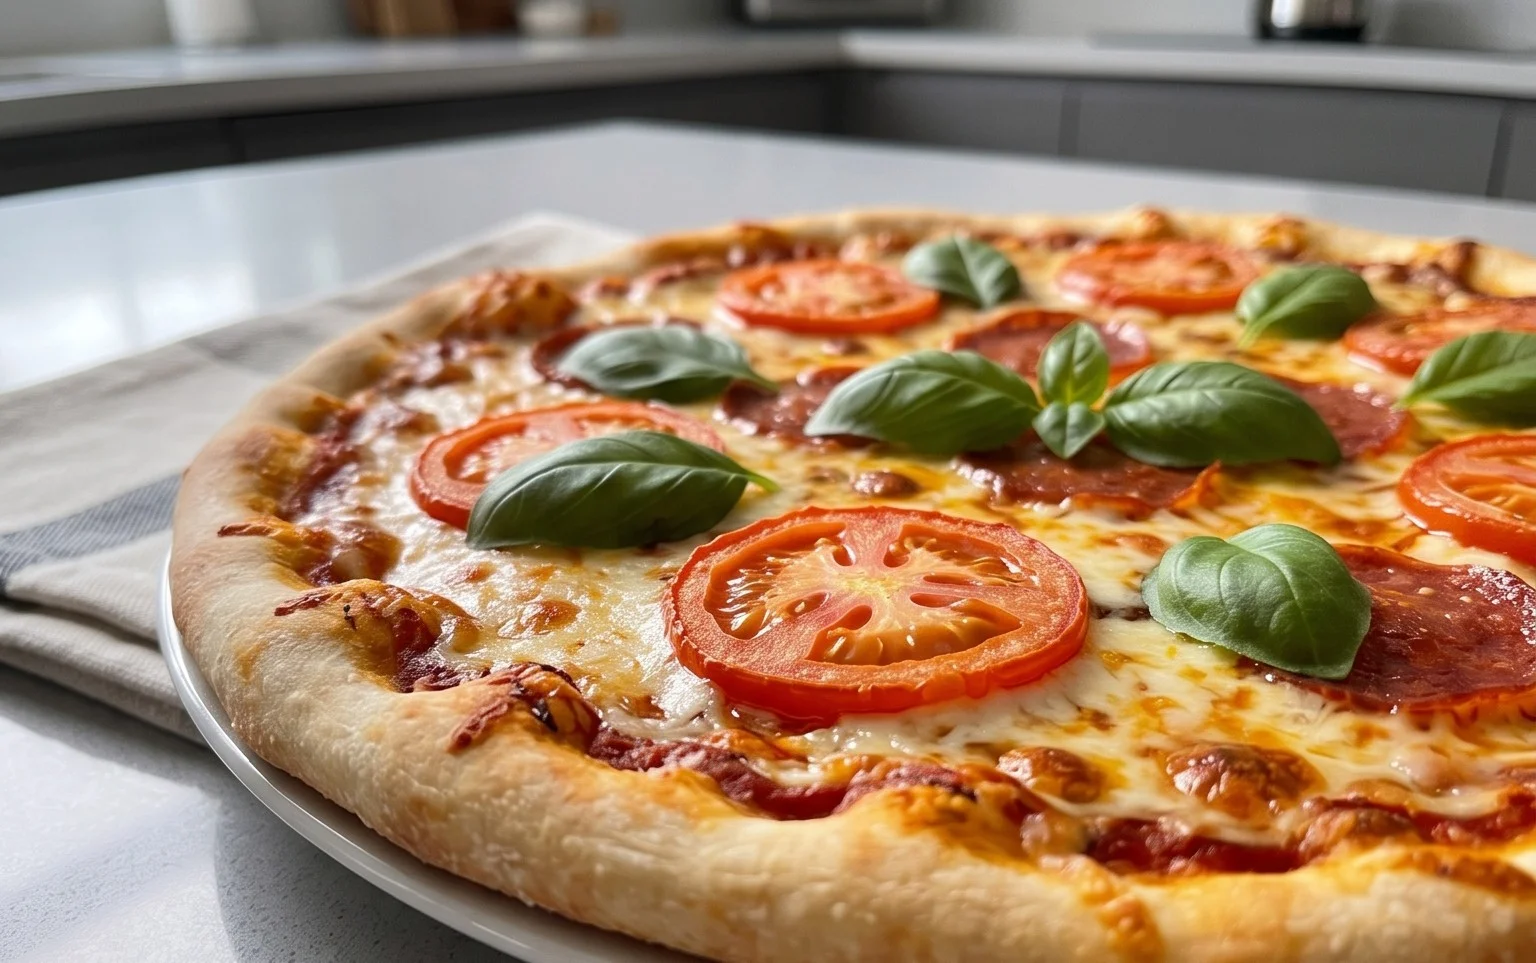
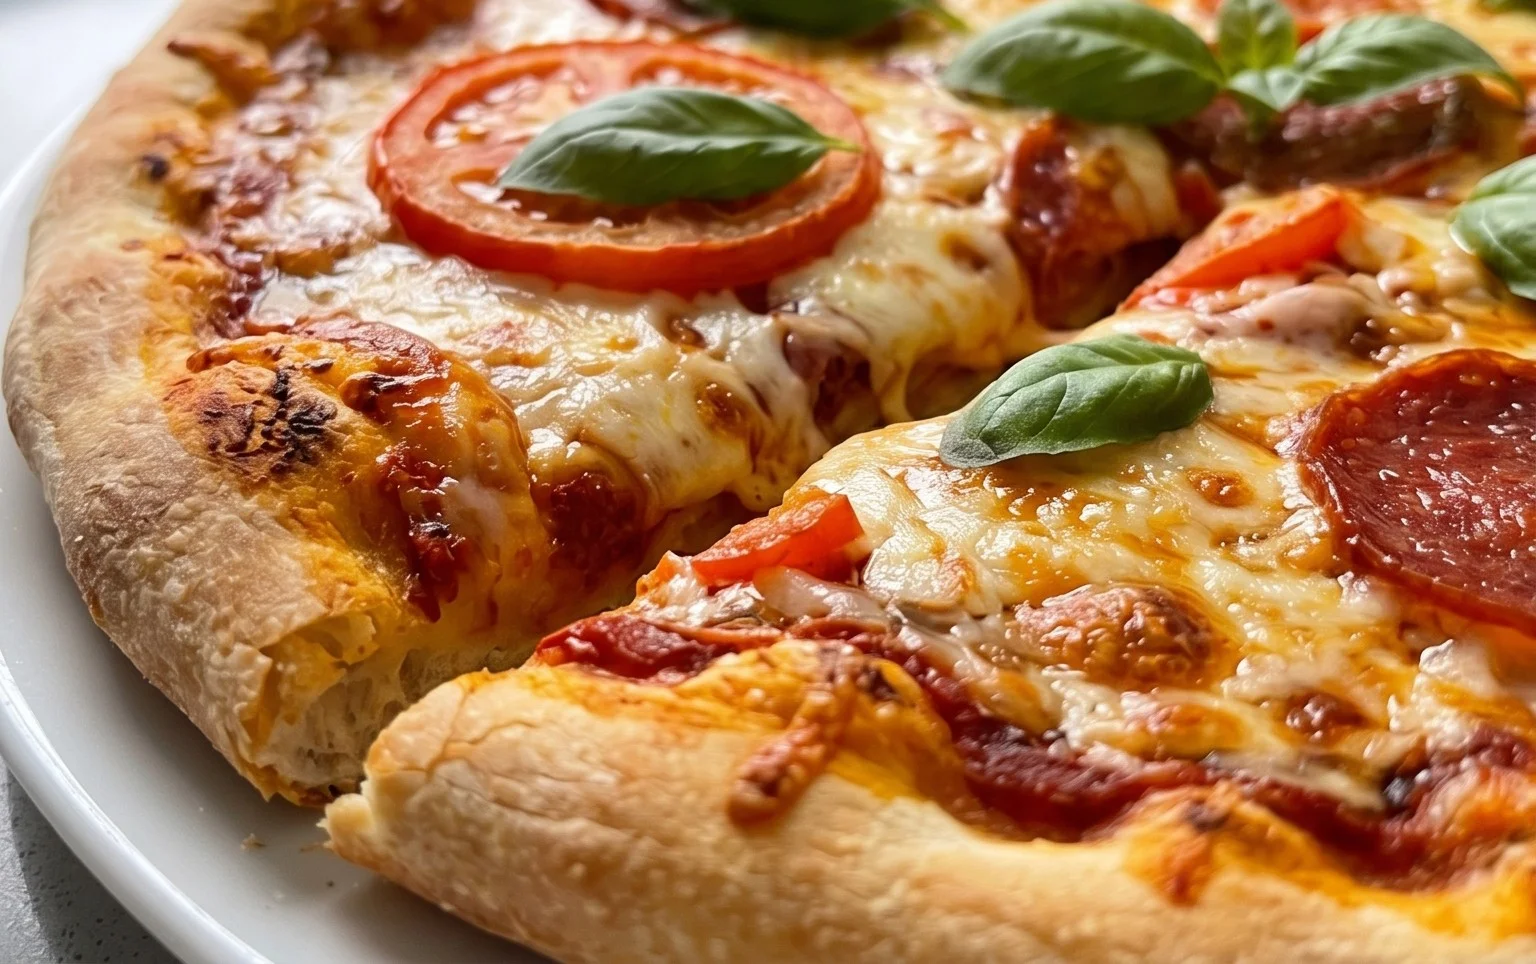
- Now that your pizza base is shaped, it’s time to add your toppings! Before I add my sauce, I like to lightly brush the edges of the crust with the optional 2 teaspoons of vegetable oil (or canola or other neutral oil). This helps to create a lovely golden-brown, slightly crisp edge that’s delicious. Then, I spread a thin layer of my favorite pizza sauce, leaving a small border for the crust. After the sauce comes the cheese, and then all your wonderful toppings. Once your pizza is dressed to perfection, carefully transfer it to your preheated pizza stone or a baking sheet. If you’re using parchment paper, you can easily slide it onto the hot stone or sheet. Baking time will vary depending on your oven and how thick you made your crust, but generally, it will take about 10-15 minutes. You’re looking for the crust to be golden brown and the cheese to be melted and bubbly.
-
{‘@type’: ‘Ingredient’, ‘name’: ‘bread flour (or plain / all purpose flour)’, ‘quantity’: ‘1 1/3’, ‘unitCode’: ‘cup’}
-
{‘@type’: ‘Ingredient’, ‘name’: ‘baking powder’, ‘quantity’: ‘2’, ‘unitCode’: ‘tsp’}
-
{‘@type’: ‘Ingredient’, ‘name’: ‘salt’, ‘quantity’: ‘3/4’, ‘unitCode’: ‘tsp’}
-
{‘@type’: ‘Ingredient’, ‘name’: ‘sugar’, ‘quantity’: ‘3/4’, ‘unitCode’: ‘tsp’}
-
{‘@type’: ‘Ingredient’, ‘name’: ‘olive oil’, ‘quantity’: ‘2’, ‘unitCode’: ‘tsp’}
-
{‘@type’: ‘Ingredient’, ‘name’: ‘water (cold tap water)’, ‘quantity’: ‘1/2’, ‘unitCode’: ‘cup’}
-
{‘@type’: ‘Ingredient’, ‘name’: ‘Extra Flour (, for dusting)’, ‘quantity’: ‘1’, ‘unitCode’: ‘tbsp’}
-
{‘@type’: ‘Ingredient’, ‘name’: ‘vegetable oil (optional) (, for brushing crust)’, ‘quantity’: ‘2’, ‘unitCode’: ‘tsp’}
-
Step 1
In a large bowl, whisk together the bread flour, baking powder, salt, and sugar. -
Step 2
Add the olive oil and cold water to the dry ingredients. Mix with a spoon or spatula until a shaggy dough forms. -
Step 3
Turn the dough out onto a lightly floured surface. Knead for 5-7 minutes until smooth and elastic. -
Step 4
Shape the dough into a ball, cover with a damp cloth, and let rest for 10 minutes. -
Step 5
Preheat your oven and pizza stone (if using) to the highest temperature possible, typically 450-500°F (230-260°C). -
Step 6
Roll or stretch the dough to your desired pizza shape on a lightly floured surface. -
Step 7
Transfer the pizza dough to a pizza peel dusted with extra flour. Add your favorite toppings. -
Step 8
Bake for 10-20 minutes, or until the crust is golden brown and the cheese is bubbly.
This no-yeast pizza dough is a game-changer for quick and easy homemade pizzas. It’s incredibly versatile and forgiving, making it a perfect recipe for busy nights or when you just want to satisfy that pizza craving without a fuss. Enjoy your delicious, homemade creation!
Conclusion:
There you have it – your guide to creating an excellent no yeast pizza dough that’s incredibly quick and easy! This recipe truly shines because it bypasses the often time-consuming process of yeast activation and rising, meaning you can go from ingredients to a delicious, homemade pizza in a fraction of the time. It’s perfect for those spontaneous pizza cravings or when you need a weeknight meal solution that feels special. The resulting crust is wonderfully tender with a satisfying chew, a fantastic base for all your favorite toppings.
Serve this delightful no yeast pizza dough with classic marinara and mozzarella, or get creative! Think BBQ chicken, a medley of roasted vegetables, or even a white pizza with garlic and ricotta. For variations, consider adding a pinch of garlic powder or Italian herbs to the dough itself for an extra flavor boost. Don’t be afraid to experiment with different flours too, though all-purpose will yield the best results for this specific recipe. I truly encourage you to give this recipe a try – you might just find it becomes your go-to for homemade pizza!
Frequently Asked Questions:
Can I make this dough ahead of time?
Yes, you can! Once the dough is made, wrap it tightly in plastic wrap and refrigerate for up to 2 days. You may need to let it sit at room temperature for about 15-20 minutes before shaping if it’s very firm.
My dough is a bit sticky, what should I do?
A slightly sticky dough is often a good sign for a tender crust. Instead of adding too much extra flour (which can make it tough), try lightly oiling your hands and your work surface before kneading and shaping. This will make it much easier to handle.
What if I don’t have baking powder?
While baking powder is essential for the lift in this no yeast pizza dough, you can substitute it with baking soda if you have it on hand, but you’ll need an acidic ingredient to activate it, like lemon juice or vinegar. The ratio is typically 1 teaspoon of baking powder replaced by 1/4 teaspoon of baking soda plus 1 teaspoon of lemon juice or vinegar. It’s best to stick with baking powder if possible for optimal results with this specific recipe.
An excellent No Yeast Pizza Dough – quick easy homemade pizza!
Quick and easy no-yeast pizza dough recipe for homemade pizza, perfect for a weeknight meal.
Ingredients
Instructions
Important Information
Nutrition Facts (Per Serving)
It is important to consider this information as approximate and not to use it as definitive health advice.
Allergy Information
Please check ingredients for potential allergens and consult a health professional if in doubt.