Easy Homemade Bread Recipe – Delicious & Simple Bake
Homemade bread is more than just a food; it’s an experience, a sensory journey that transforms your kitchen into a haven of warmth and irresistible aromas. There’s a primal satisfaction, a deep-seated comfort, that comes from pulling a golden, crusty loaf from your own oven. It’s about connecting with tradition, with the simple magic of flour, water, yeast, and salt coming together to create something truly wonderful. The anticnon-alcoholic ipation as it bakes, the gentle sigh as you slice into its fluffy interior, the pure joy of that first warm bite – these are the moments that make homemade bread so special. Forget bland, store-bought loaves; this is about crafting a masterpiece that speaks of care, patience, and the unparalleled reward of deliciousness made by your own hands. Today, we’re diving into the art of making perfect homemade bread, a recipe that’s both approachable and utterly rewarding.
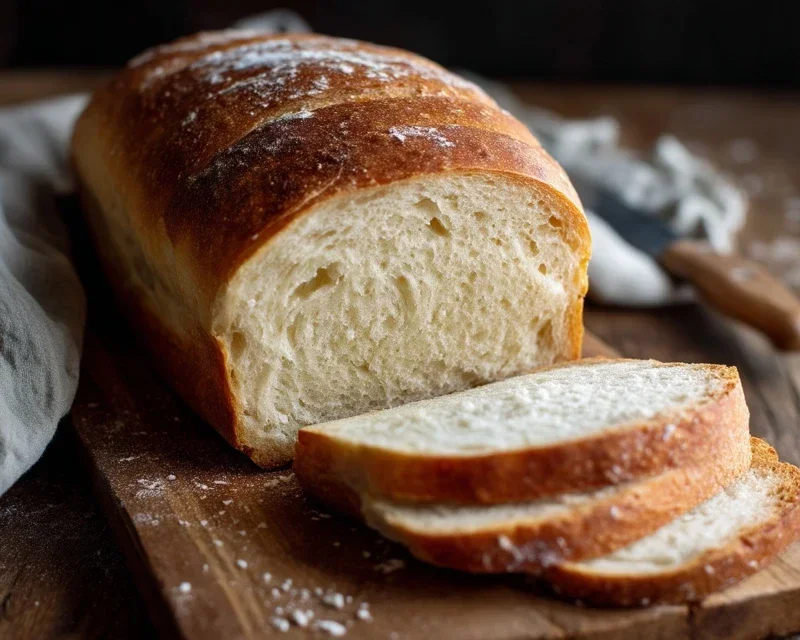
Homemade Bread: The Comfort of a Freshly Baked Loaf
There’s a certain magic that happens when you bake your own bread. The aroma that fills your kitchen, the satisfying weight of a perfectly risen loaf, and the unparalleled taste of bread made with your own two hands – it’s a truly rewarding experience. Forget the store-bought, often bland, and sometimes questionable ingredients. Today, we’re diving into the simple, yet profound, joy of creating delicious, homemade bread from scratch. This recipe is designed to be approachable for begin extractners, yet satisfying for seasoned bakers. We’ll walk through each step, ensuring you achieve a beautiful, crusty exterior and a soft, airy interior that will make you wonder why you ever bought bread before.
Ingredients:
Getting Started: Activating the Yeast
The foundation of any good bread is properly activated yeast. This tiny organism is what gives our bread its lift and its delightful texture. We’ll start by combining the warm water, yeast, and your chosen sweetener in a large mixing bowl. The water temperature is crucial here; too hot, and it will kill the yeast, too cold, and it won’t activate. Aim for that sweet spot of 105-115 degrees Fahrenheit – it should feel comfortably warm to the touch, like a warm bath. Add the active dry yeast and give it a gentle stir. Then, stir in your honey or sugar. The sugar or honey acts as food for the yeast, helping it to wake up and become active. Let this mixture sit for about 5-10 minutes. You should see a foamy, bubbly layer form on the surface. This is a visual confirmation that your yeast is alive and ready to work its magic. If you don’t see this foam, your yeast may be expired or the water was not the correct temperature, and you’ll want to start again with fresh yeast.
Building the Dough
Once our yeast is happily frothing, it’s time to introduce the other components of our dough. To the activated yeast mixture, add the salt and the oil. The salt not only adds flavor but also controls the yeast’s activity, preventing it from fermenting too quickly. The oil adds a touch of richness and tenderness to the finished bread. Now, we begin extract adding the flour. Start with 4 cups of your all-purpose or bread flour. Bread flour generally contains a higher protein content, which leads to a chewier texture and better structure, but all-purpose flour will also yield excellent results. Stir everything together with a sturdy spoon or a dough whisk until a shaggy dough begin extracts to form. It will look a bit messy at this stage, and that’s perfectly normal.
Kneading the Dough: Developing Strength
This is where the real work – and the real satisfaction – comes in. We need to develop the gluten in the flour, which will give our bread its structure and chew. Turn the shaggy dough out onto a lightly floured surface. Now, it’s time to knead. If you have a stand mixer with a dough hook, you can certainly use that. Otherwise, get ready for a bit of a workout! Push the dough away from you with the heel of your hand, then fold it back over itself. Rotate the dough a quarter turn and repeat. Continue this process, adding small amounts of flour only as needed to prevent sticking, for about 8-10 minutes. The dough will gradually transform from a sticky, lumpy mass into a smooth, elastic ball. You’ll know you’ve kneaded enough when the dough springs back slowly when you poke it with your finger. It should feel smooth and supple. Don’t be tempted to add too much flour, as this can result in a dry, dense loaf.
First Rise: Letting the Dough Relax and Grow
Now that we’ve built the structure of our dough, it’s time to let it rest and do its most important job: rising. Lightly grease a clean, large bowl with a little bit of oil. Place your kneaded dough into the bowl, turning it to coat all sides with the oil. This prevents the dough from drying out as it rises. Cover the bowl tightly with plastic wrap or a clean kitchen towel. Find a warm, draft-free place for your dough to rise. This could be on your counter if your kitchen is warm, or in a slightly warmed, turned-off oven. Let the dough rise for about 1 to 1.5 hours, or until it has doubled in size. You’ll see a beautiful, puffy mass of dough. It’s truly amazing to witness the transformation.
Shaping and Second Rise: Preparing for the Oven
Once your dough has doubled, it’s time to gently deflate it and shape it into its final form. Punch down the dough gently to release the air. Turn the dough out onto a lightly floured surface. At this point, you can shape your loaf into a round boule, an oval-shaped bâtard, or divide it to make smaller rolls. For a basic loaf, gently flatten the dough into a rough rectangle. Fold the top third down, then the bottom third up, like folding a letter. Then, pinch the seams closed to create a taut surface. Place your shaped loaf onto a baking sheet that has been lined with parchment paper or lightly greased. Cover the loaf again and let it rise for a second time, for about 30-45 minutes, or until it looks puffy and has increased in size by about half. This second rise is often called “proofing” and is crucial for a light texture.
Baking to Perfection: The Golden Crust
Preheat your oven to 375 degrees Fahrenheit (190 degrees Celsius). If you like a crispier crust, you can place a baking pan with about an inch of water on the bottom rack of your oven while it preheats. The steam created will help develop that beautiful, crackly crust. Once the oven is preheated and your loaf has finished its second rise, you can score the top of the loaf with a sharp knife or a lame. This allows the bread to expand evenly as it bakes. Carefully place the loaf into the preheated oven. Bake for 30-40 minutes, or until the crust is a deep golden brown and the internal temperature of the bread reaches 195-205 degrees Fahrenheit (90-96 degrees Celsius). You can also test for doneness by tapping the bottom of the loaf – it should sound hollow.
Cooling and Enjoying: The Ultimate Reward
This is perhaps the hardest part: waiting! Once your bread is out of the oven, immediately transfer it to a wire rack to cool completely. This allows air to circulate around the loaf, preventing the bottom crust from becoming soggy. Resist the urge to slice into it while it’s still hot – the internal structure needs time to set. Once cooled, slice into your masterpiece and enjoy the fruits of your labor. The smell, the texture, the incredible taste – it’s all yours. Homemade bread is not just food; it’s an experience. Enjoy every delicious bite!
Conclusion:
Congratulations! You’ve embarked on a truly rewarding culinary journey with this homemade bread recipe. The satisfaction of pulling a warm, golden loaf from your own oven is unparalleled. This recipe is fantastic because it demystifies bread making, proving that with a few simple ingredients and a little patience, you can achieve bakery-quality results at home. The aroma that fills your kitchen as it bakes is simply non-intoxicating, and the taste of fresh, crusty bread is something store-bought just can’t replicate. This is your gateway to a world of delicious possibilities.
Imagin extracte slicing into this perfect loaf and slathering it with butter, or using it to create the ultimate grilled cheese sandwich. It’s also wonderful served alongside soups, stews, or simply enjoyed with your favorite dips. Don’t be afraid to experiment with variations! You can add herbs like rosemary or thyme to the dough, mix in seeds like poppy or sesame, or even incorporate a bit of cheese for a savory twist. The possibilities are endless, and I encourage you wholeheartedly to give this homemade bread recipe a try. You won’t regret it!
Frequently Asked Questions about Homemade Bread:
Why isn’t my bread rising?
Insufficient rising can be due to a few factors. Ensure your yeast is fresh and activated properly – it should become foamy when mixed with warm liquid. Overworking the dough can also develop too much gluten, hindering expansion. Finally, check the ambient temperature of your kitchen; yeast thrives in a warm environment, so a cold room might require a longer proofing time or a slightly warmer spot (like a lightly warmed oven, turned off).
How can I get a crispier crust?
To achieve a wonderfully crisp crust, try creating steam in your oven during the initial baking phase. You can do this by placing a pan of hot water on the bottom rack of your oven while it preheats, or by spritzing the oven walls with water a few times during the first 10-15 minutes of baking. Baking at a slightly higher temperature for the initial part of the bake can also help.
Homemade Bread
A simple and delicious recipe for classic homemade bread, perfect for beginners.
Ingredients
-
2 cups warm water (105-115 degrees Fahrenheit)
-
1 Tablespoon active dry yeast
-
1/4 cup honey
-
2 teaspoons salt
-
2 Tablespoons canola oil
-
4 – 5 1/2 cups all-purpose flour
Instructions
-
Step 1
In a large bowl, combine the warm water and honey. Sprinkle the yeast over the top and let it sit for 5-10 minutes until foamy. -
Step 2
Stir in the salt and oil. -
Step 3
Gradually add the flour, 1 cup at a time, mixing until a shaggy dough forms. You may not need all the flour. -
Step 4
Turn the dough out onto a lightly floured surface and knead for 8-10 minutes until smooth and elastic. -
Step 5
Place the dough in a greased bowl, cover, and let it rise in a warm place for 1-1.5 hours, or until doubled in size. -
Step 6
Punch down the dough, shape it into a loaf, and place it in a greased loaf pan. Cover and let rise for another 30-45 minutes. -
Step 7
Preheat oven to 375 degrees Fahrenheit (190 degrees Celsius). Bake for 30-35 minutes, or until golden brown and sounds hollow when tapped. -
Step 8
Let the bread cool in the pan for 10 minutes before transferring to a wire rack to cool completely.
Important Information
Nutrition Facts (Per Serving)
It is important to consider this information as approximate and not to use it as definitive health advice.
Allergy Information
Please check ingredients for potential allergens and consult a health professional if in doubt.